Build a basic notes app with Nhost and Next.js
7 December 2022


To learn any new language or framework, the first thing we do is implement “Hello world”.
And a notes app is like the “Hello world” of web development. It is a great way to learn about web development and explore new technologies.
In this blog post, we will show you how to build a simple notes app using Next.js and Nhost.
What is Nhost
But first what is Nhost?
Nhost is the open-source Firebase alternative with GraphQL and a development platform. Nhost is doing for the backend, what Netlify and Vercel are doing for the frontend. We provide a modern backend with the Postgres database, GraphQL API, Authentication, Storage, and Serverless Functions.
Create a Nhost project
Head over to https://nhost.io/.
If this is your first Nhost project, sign up using your GitHub or email. The next step is to create a Nhost project.
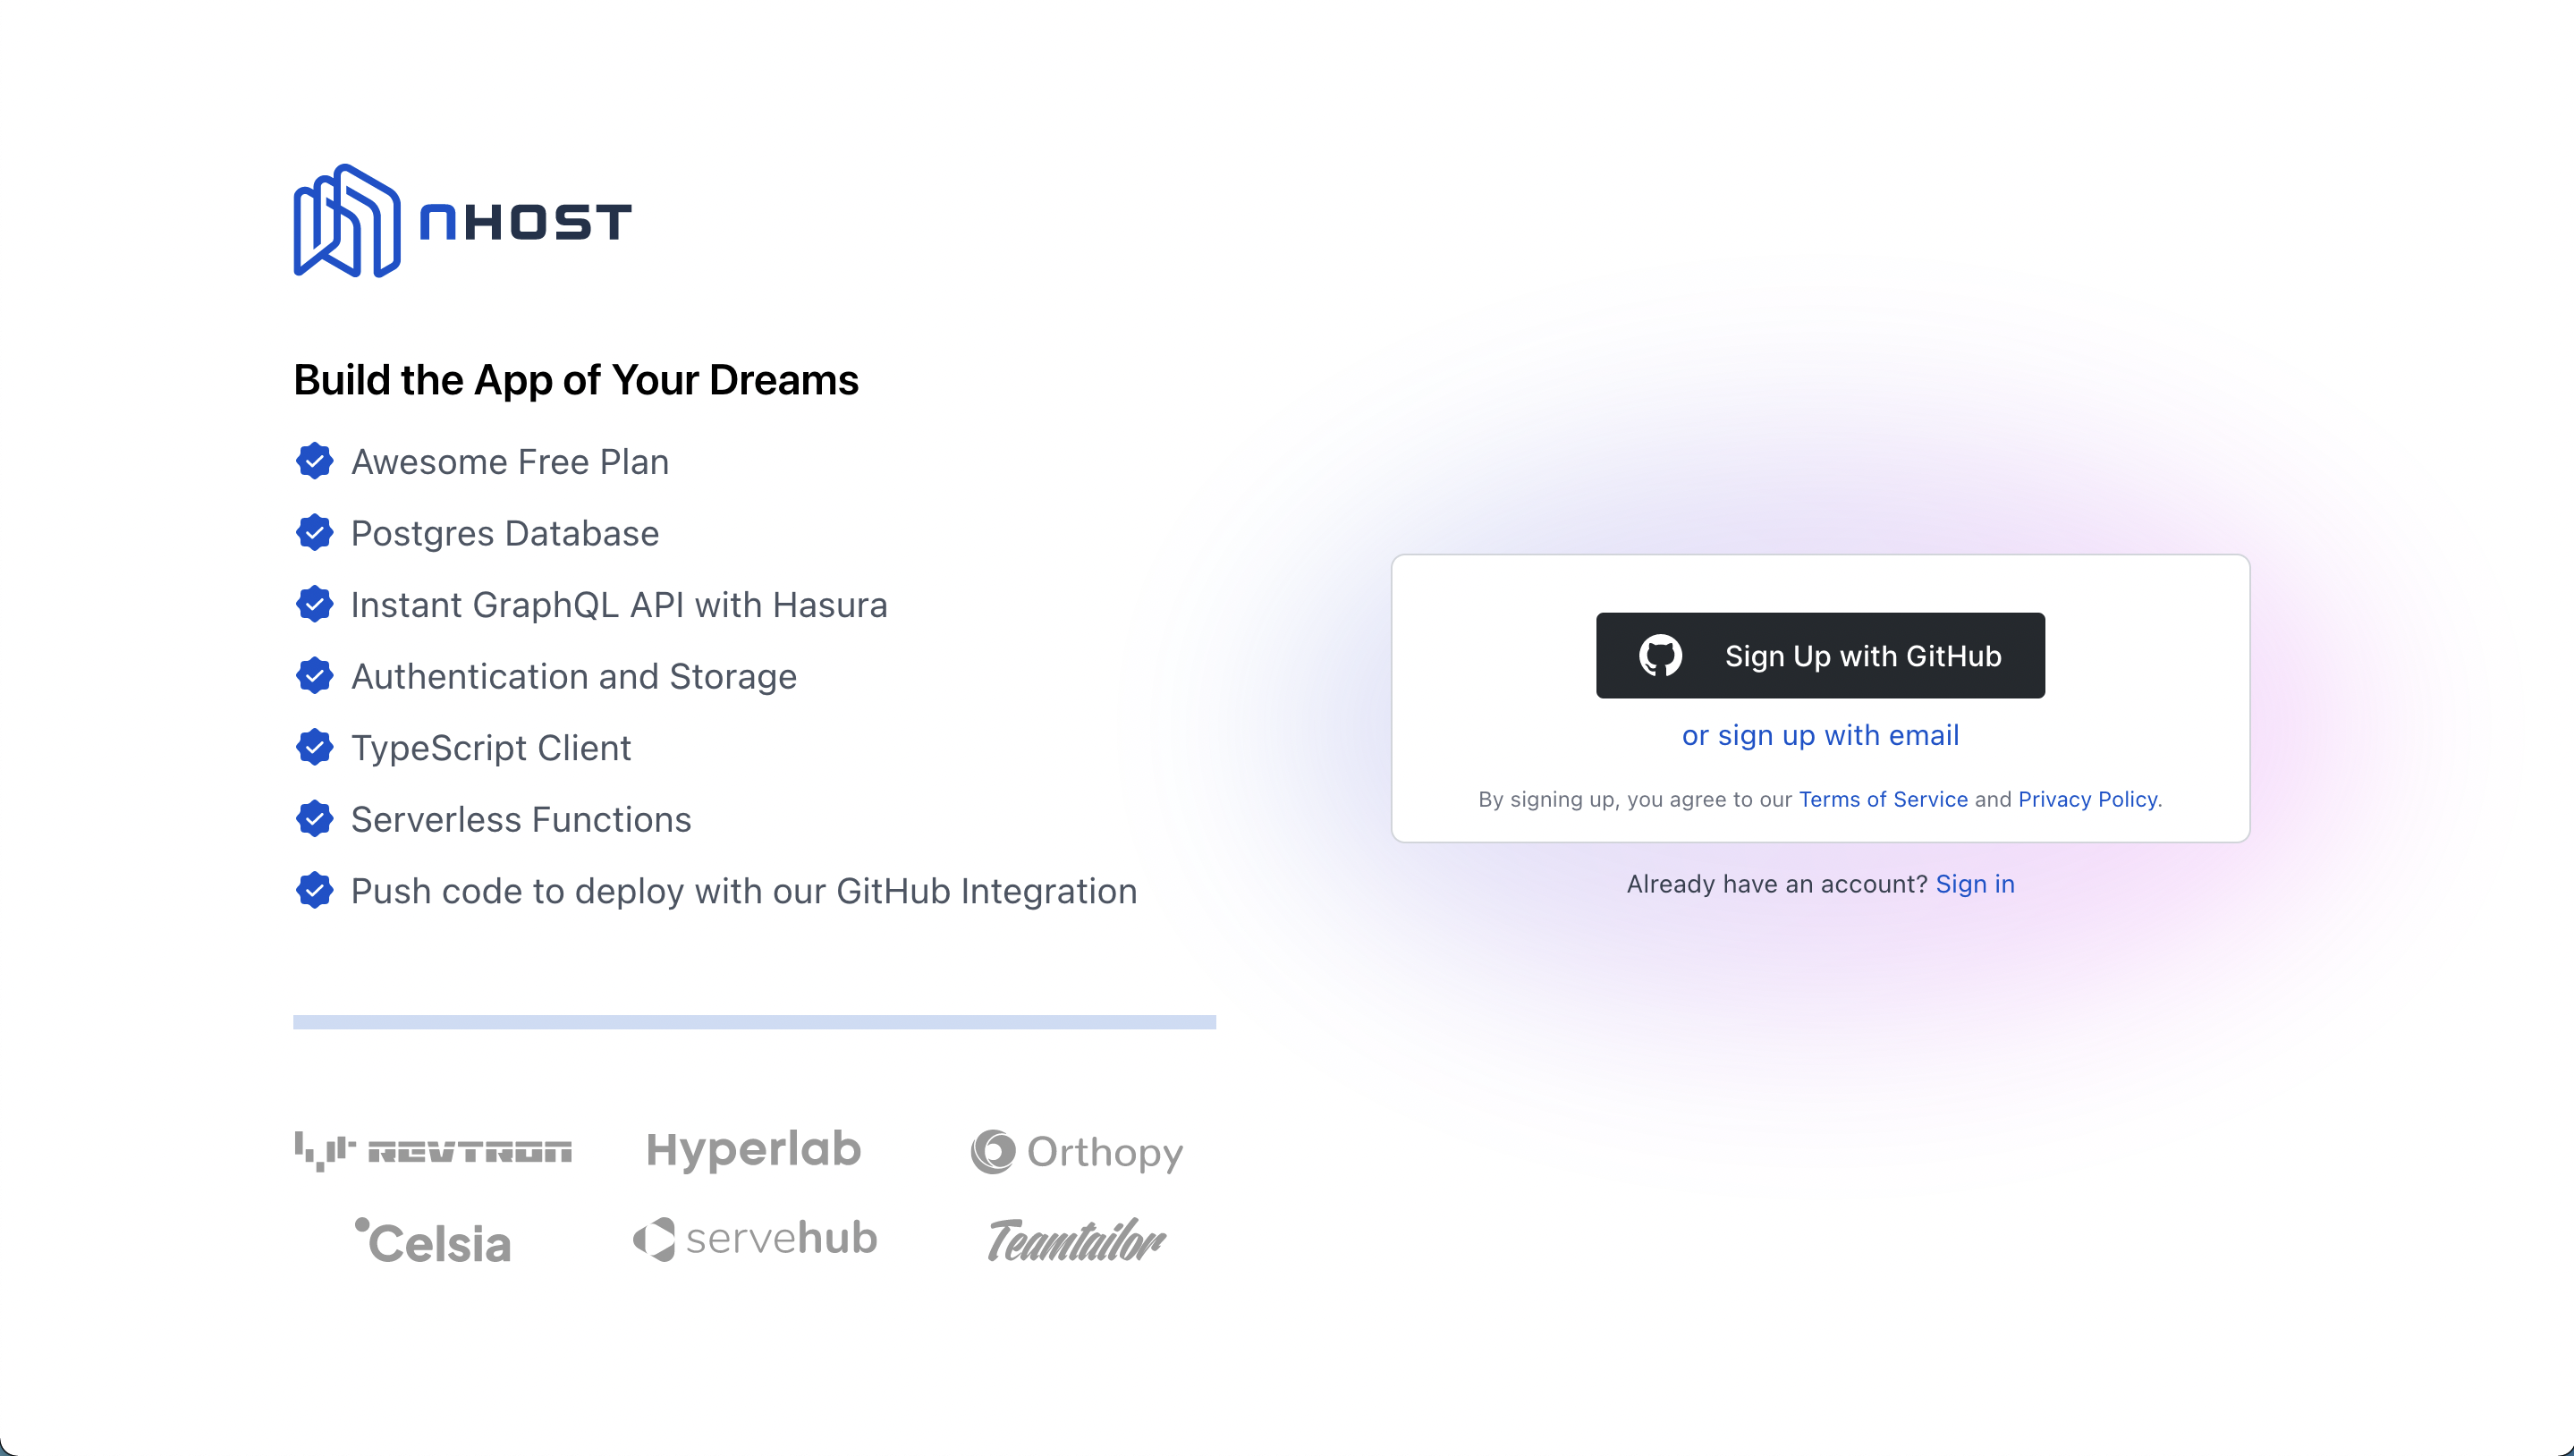 Sign up to Nhost
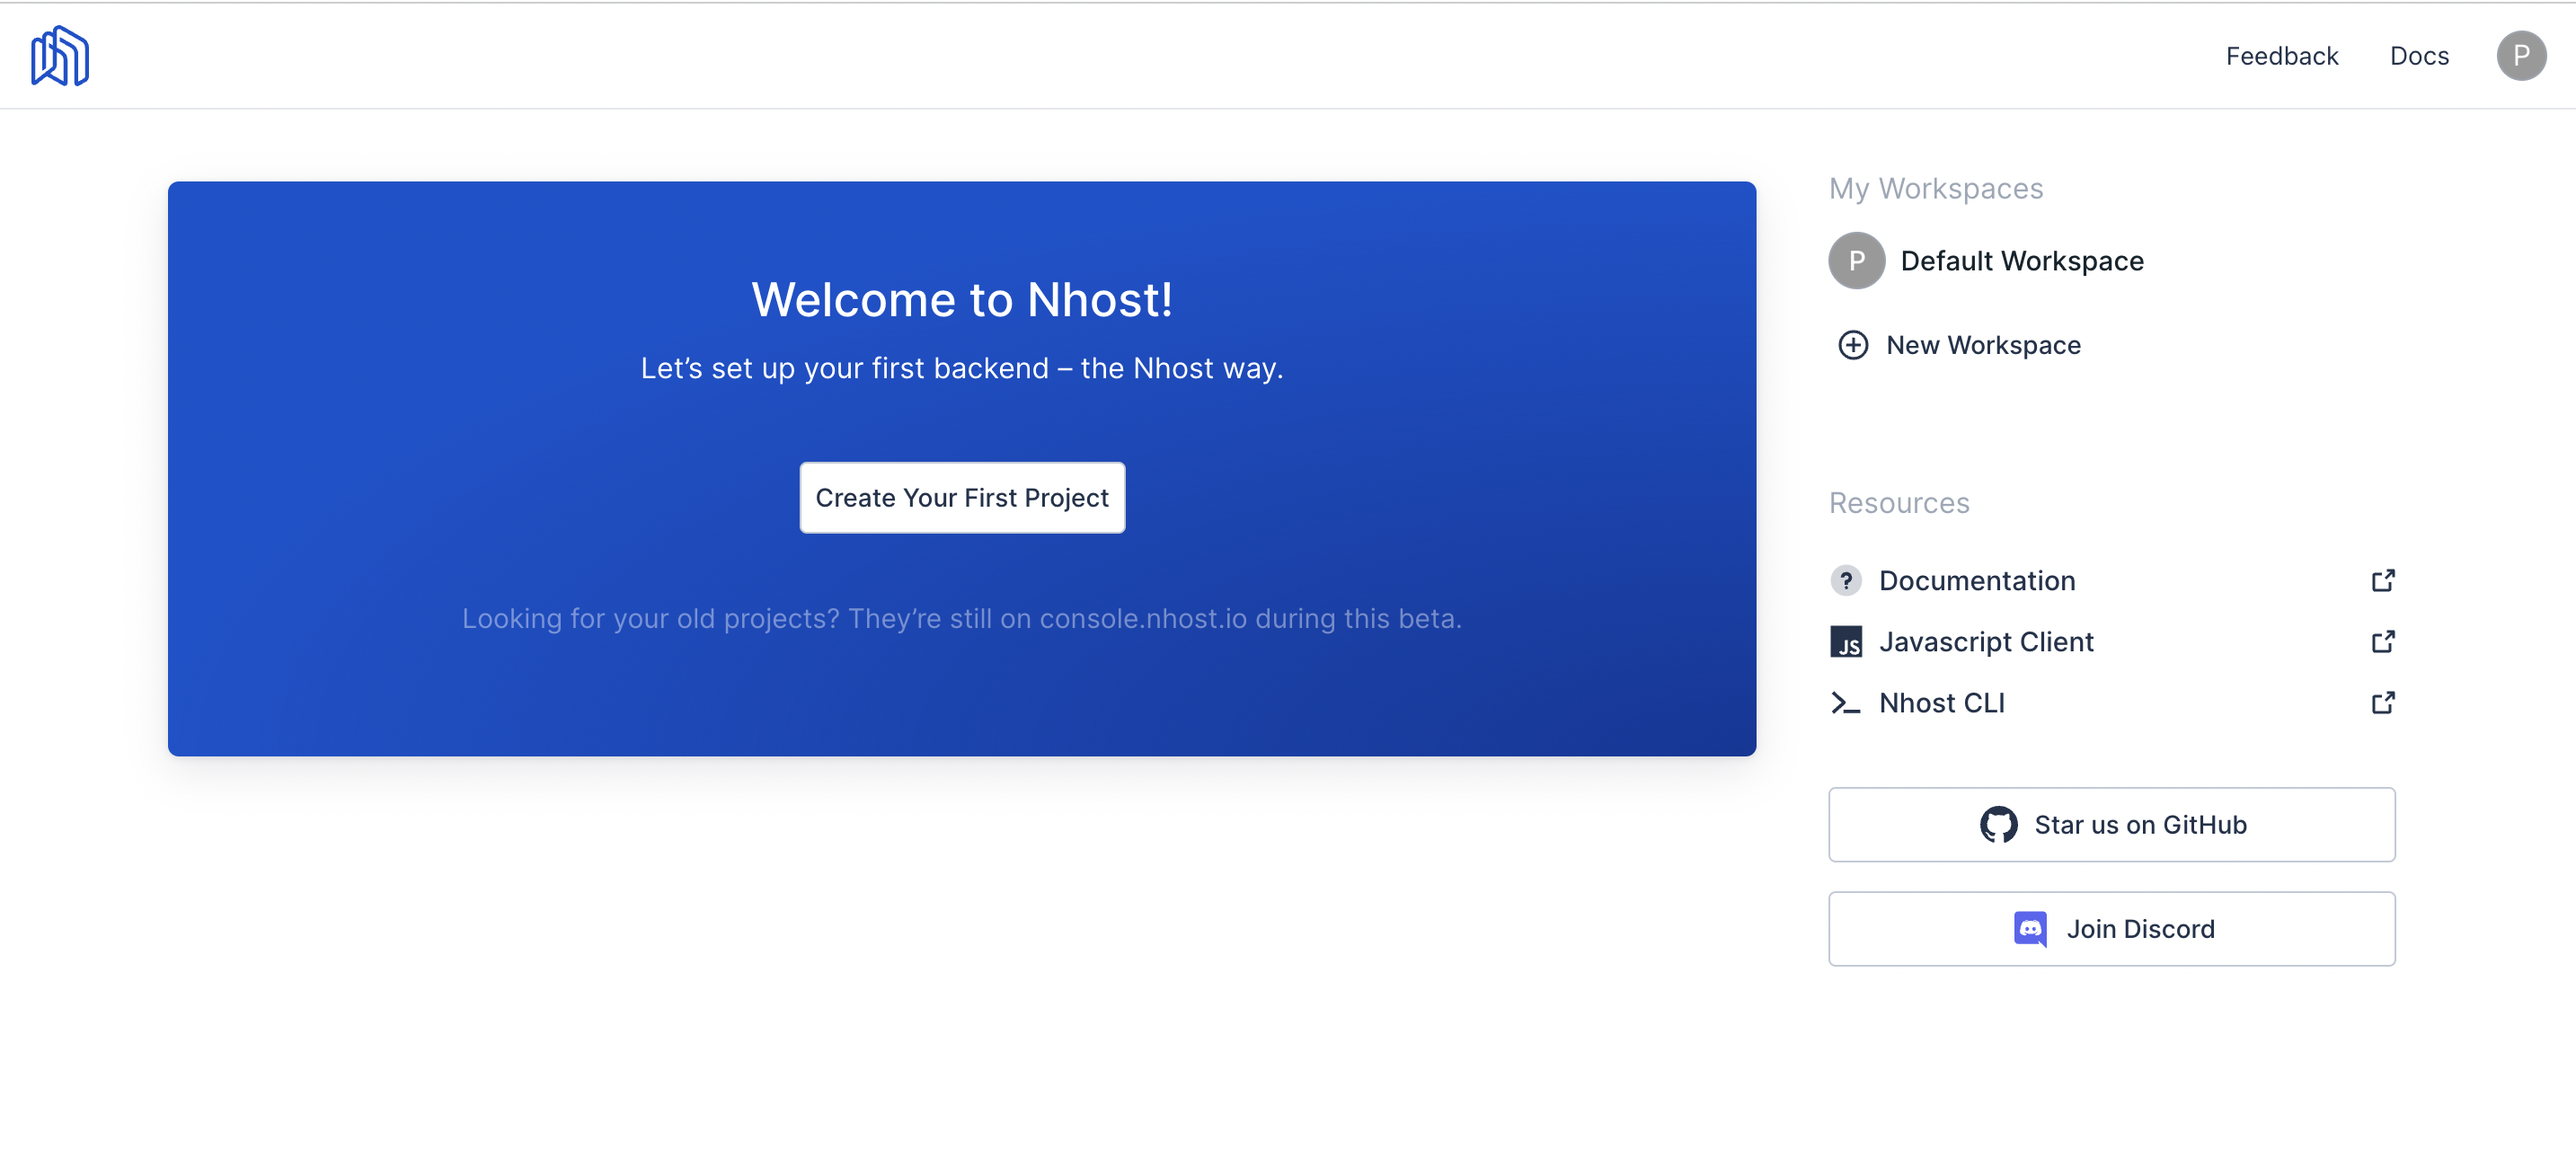
Click the "Create Your First Project" button.
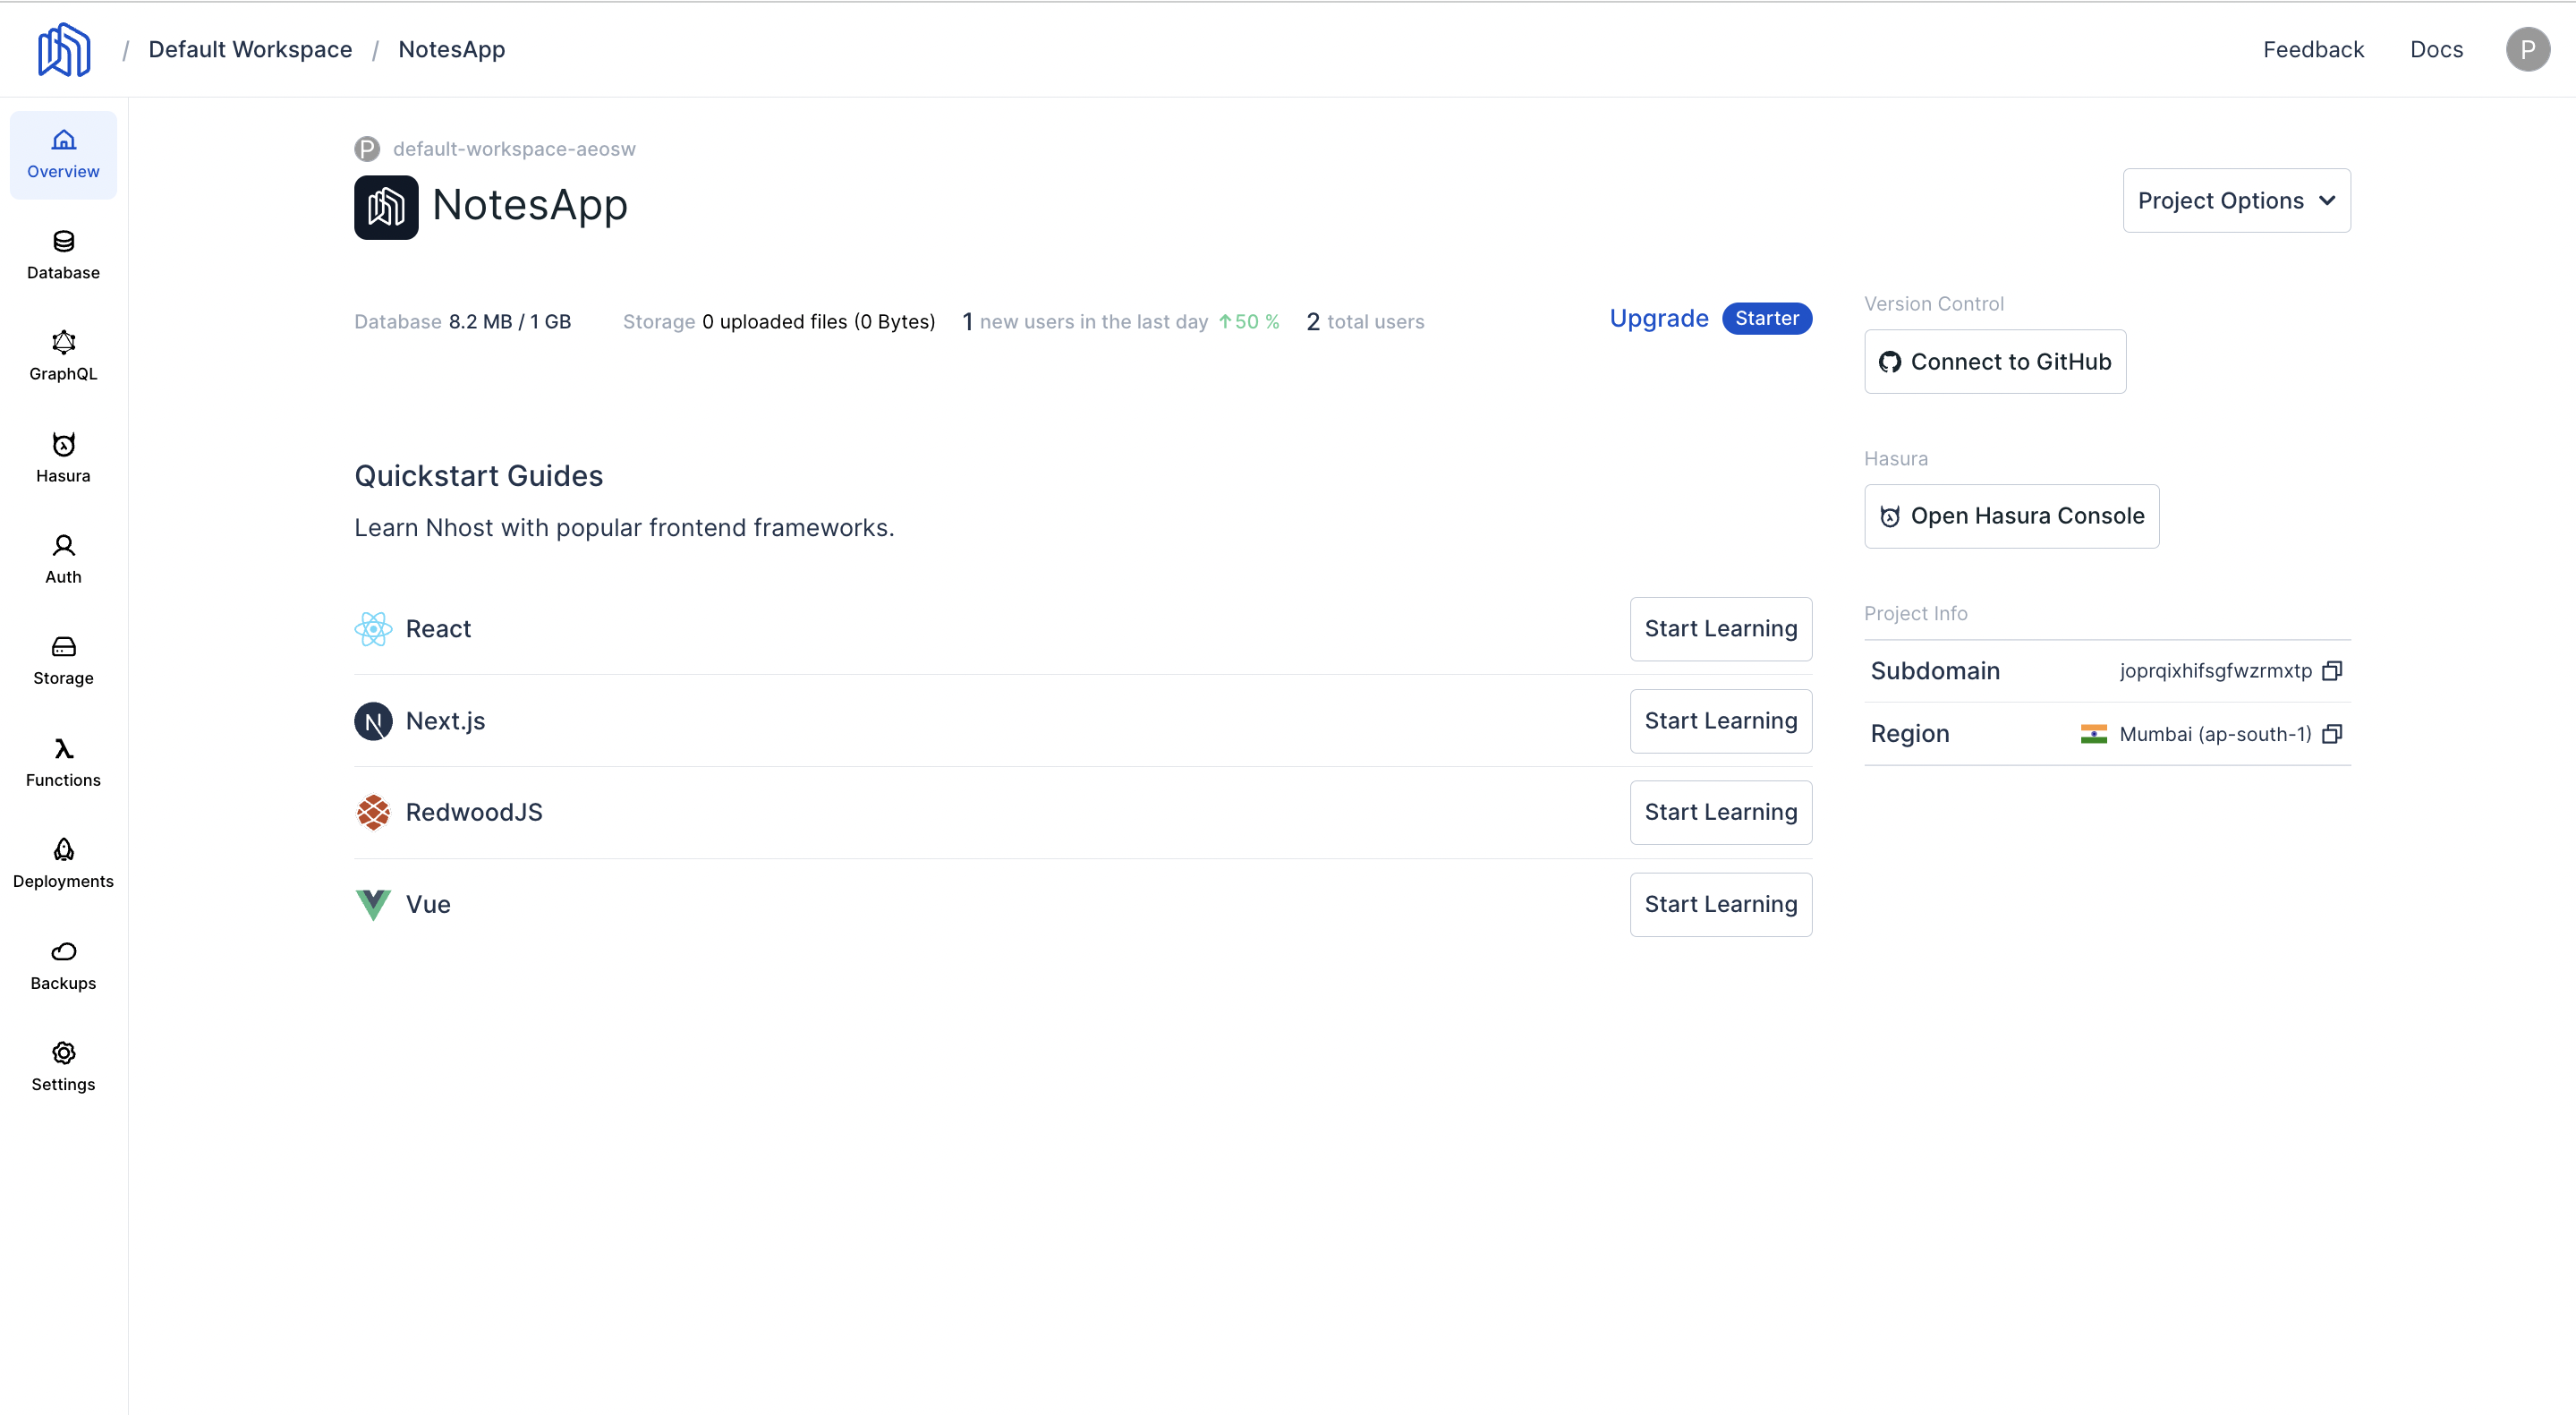
Next, give your new Nhost project a name, select a geographic region for your Nhost services and click Create Project.
 Create your first Nhost project
Give your new Nhost project a name, select a region and click "Create Project".
A Basic Notes App
For this guide, we'll be creating the backend for a notes app with two users. Each user will have a note with a unique id, title, body, and details about when it was created and updated.
 Dashboard
We now need to create a table named notes
Click on Database.
 Database
And then click on New Table to add the columns to your table.
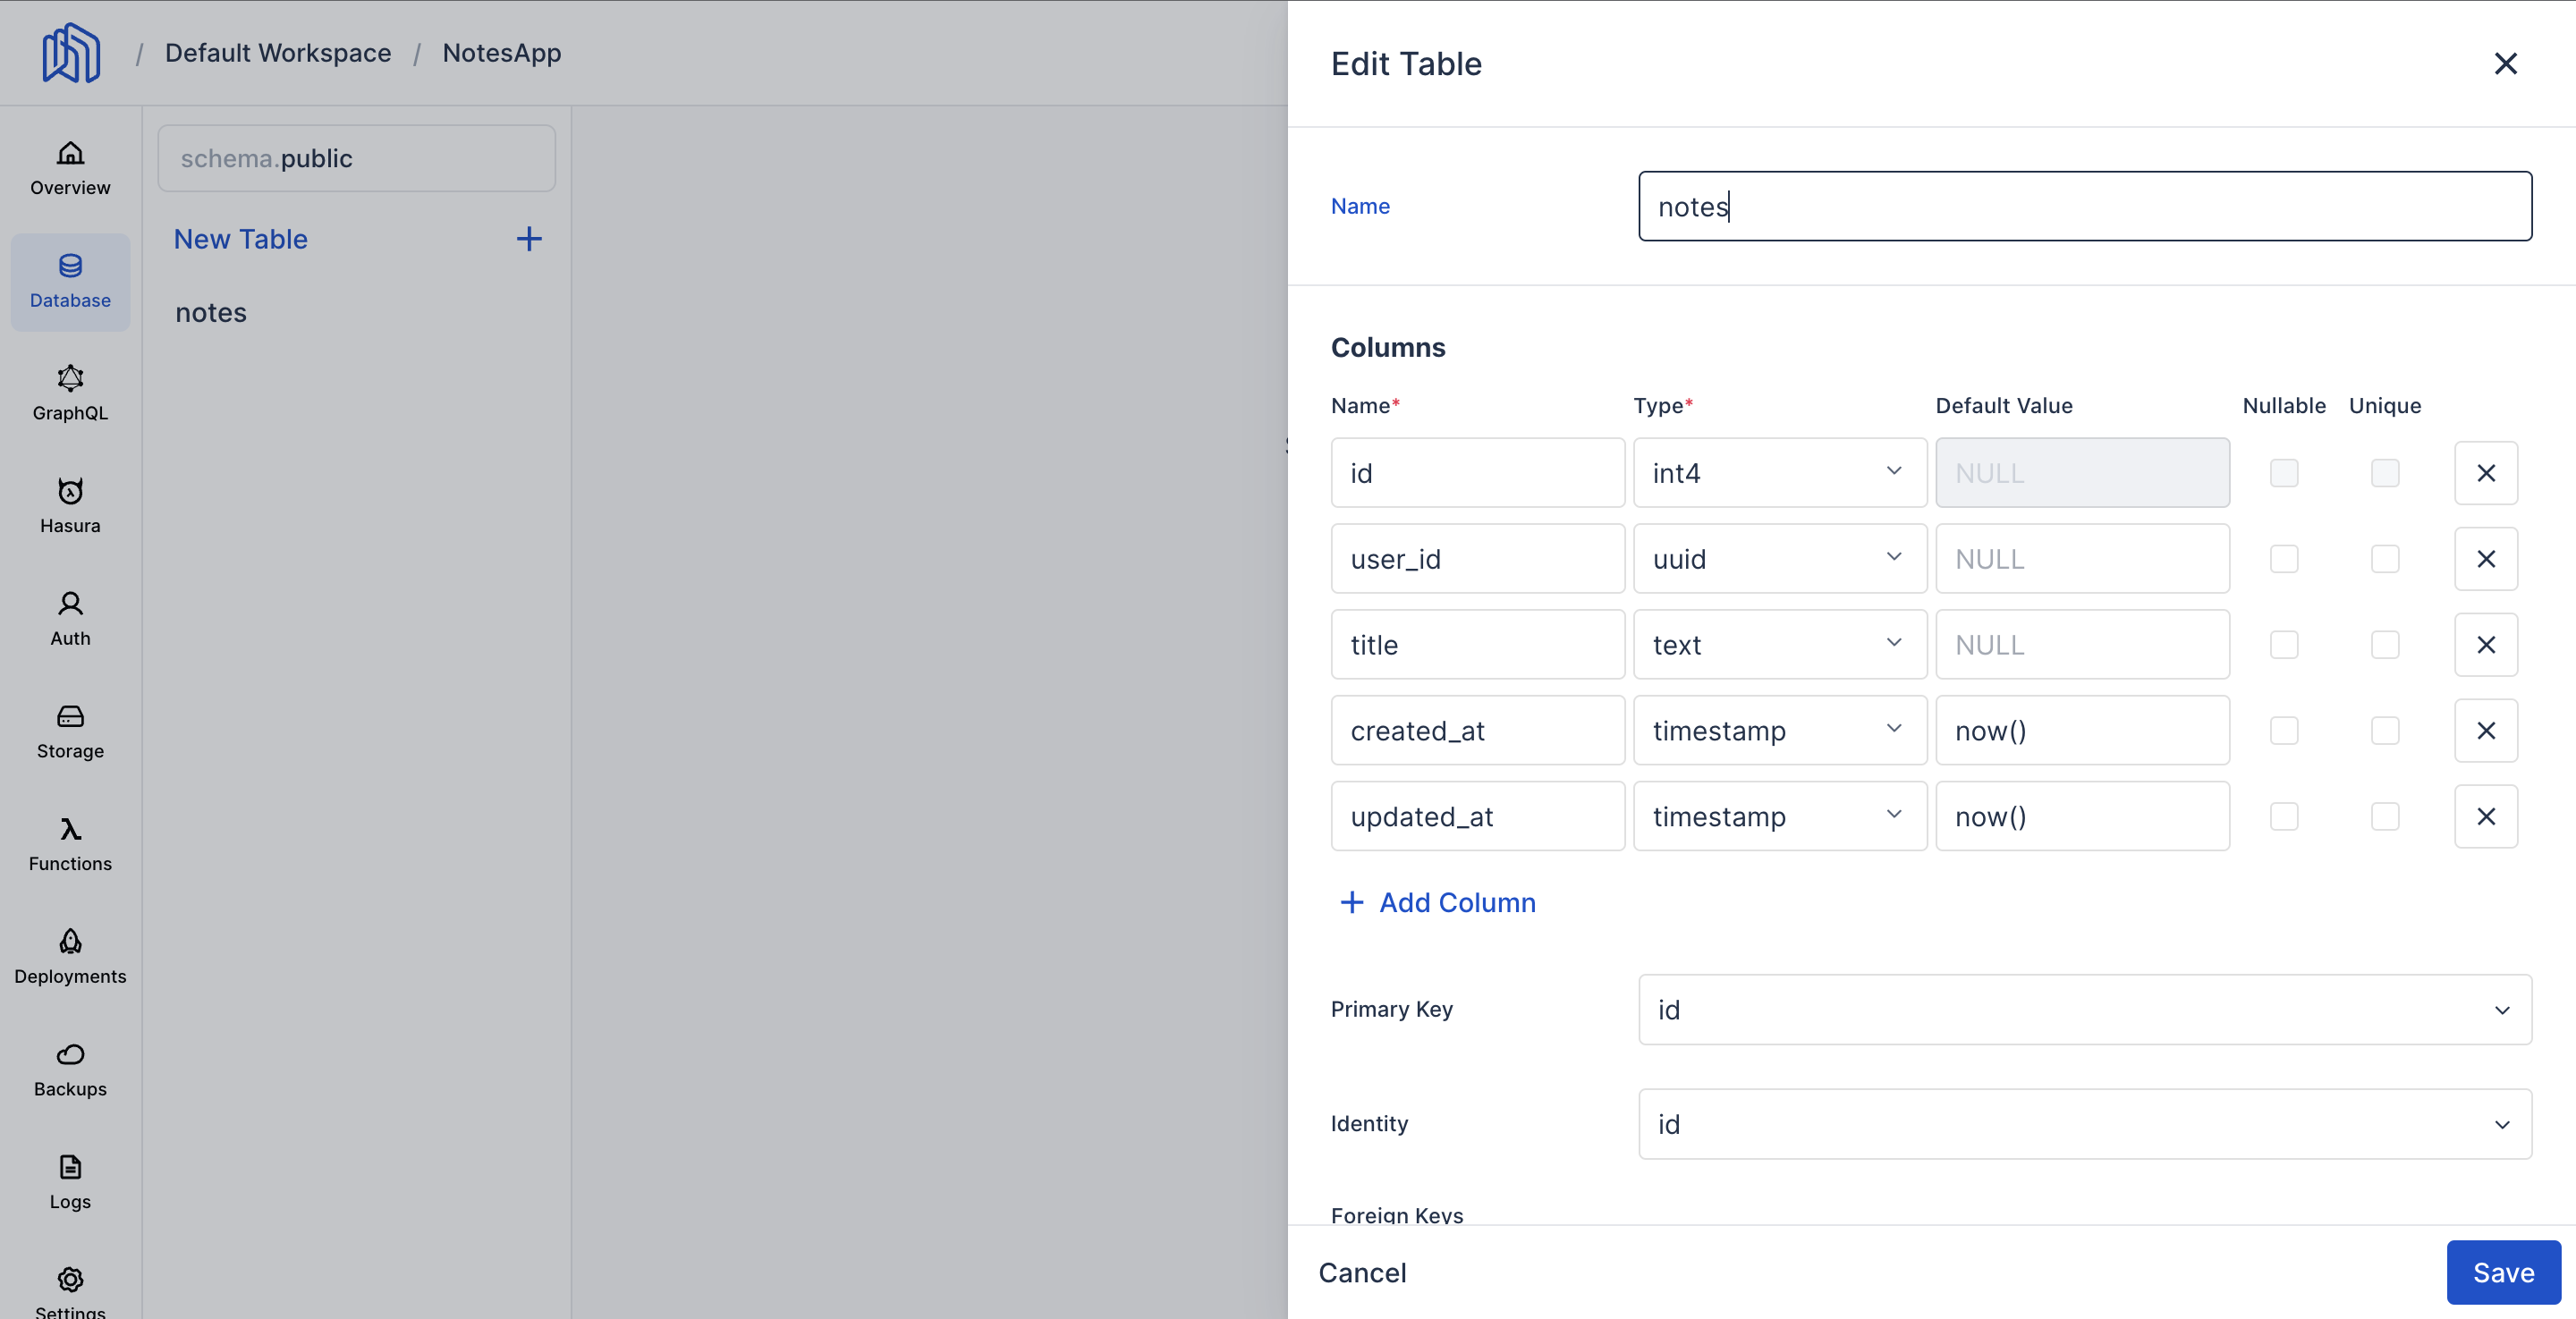 Add a new table
Make sure to add the Cascading property to the update property. Cascading is to ensure data consistency and integrity. When a record is updated in a database table, any related records in other tables may also need to be updated in order to maintain the integrity of the data. Cascading enables these related updates to happen automatically, without the need for additional queries
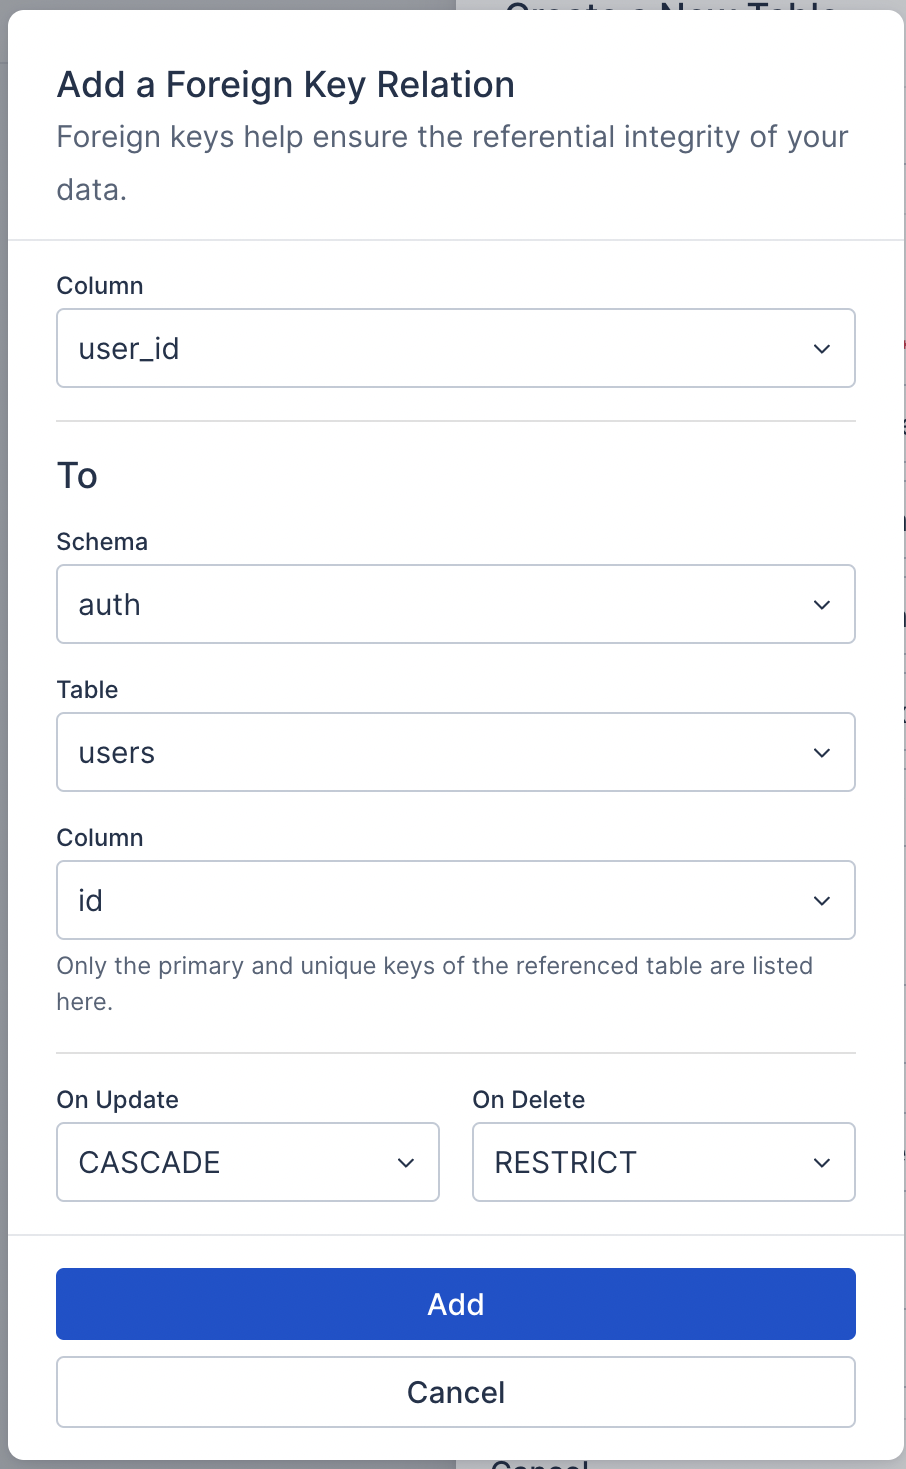 Add foreign key
We have now successfully created a notes table in our database. We'll later look into the permissions required to insert, select, delete, and update the data in this table.
But first, let us create some dummy users which we can use to sign in to our app.
Head over to the Auth section and let’s create some users.
Normally these users would be created from the signin page of your app, but because we are focusing more on the backend, we will directly create the users on the backend.
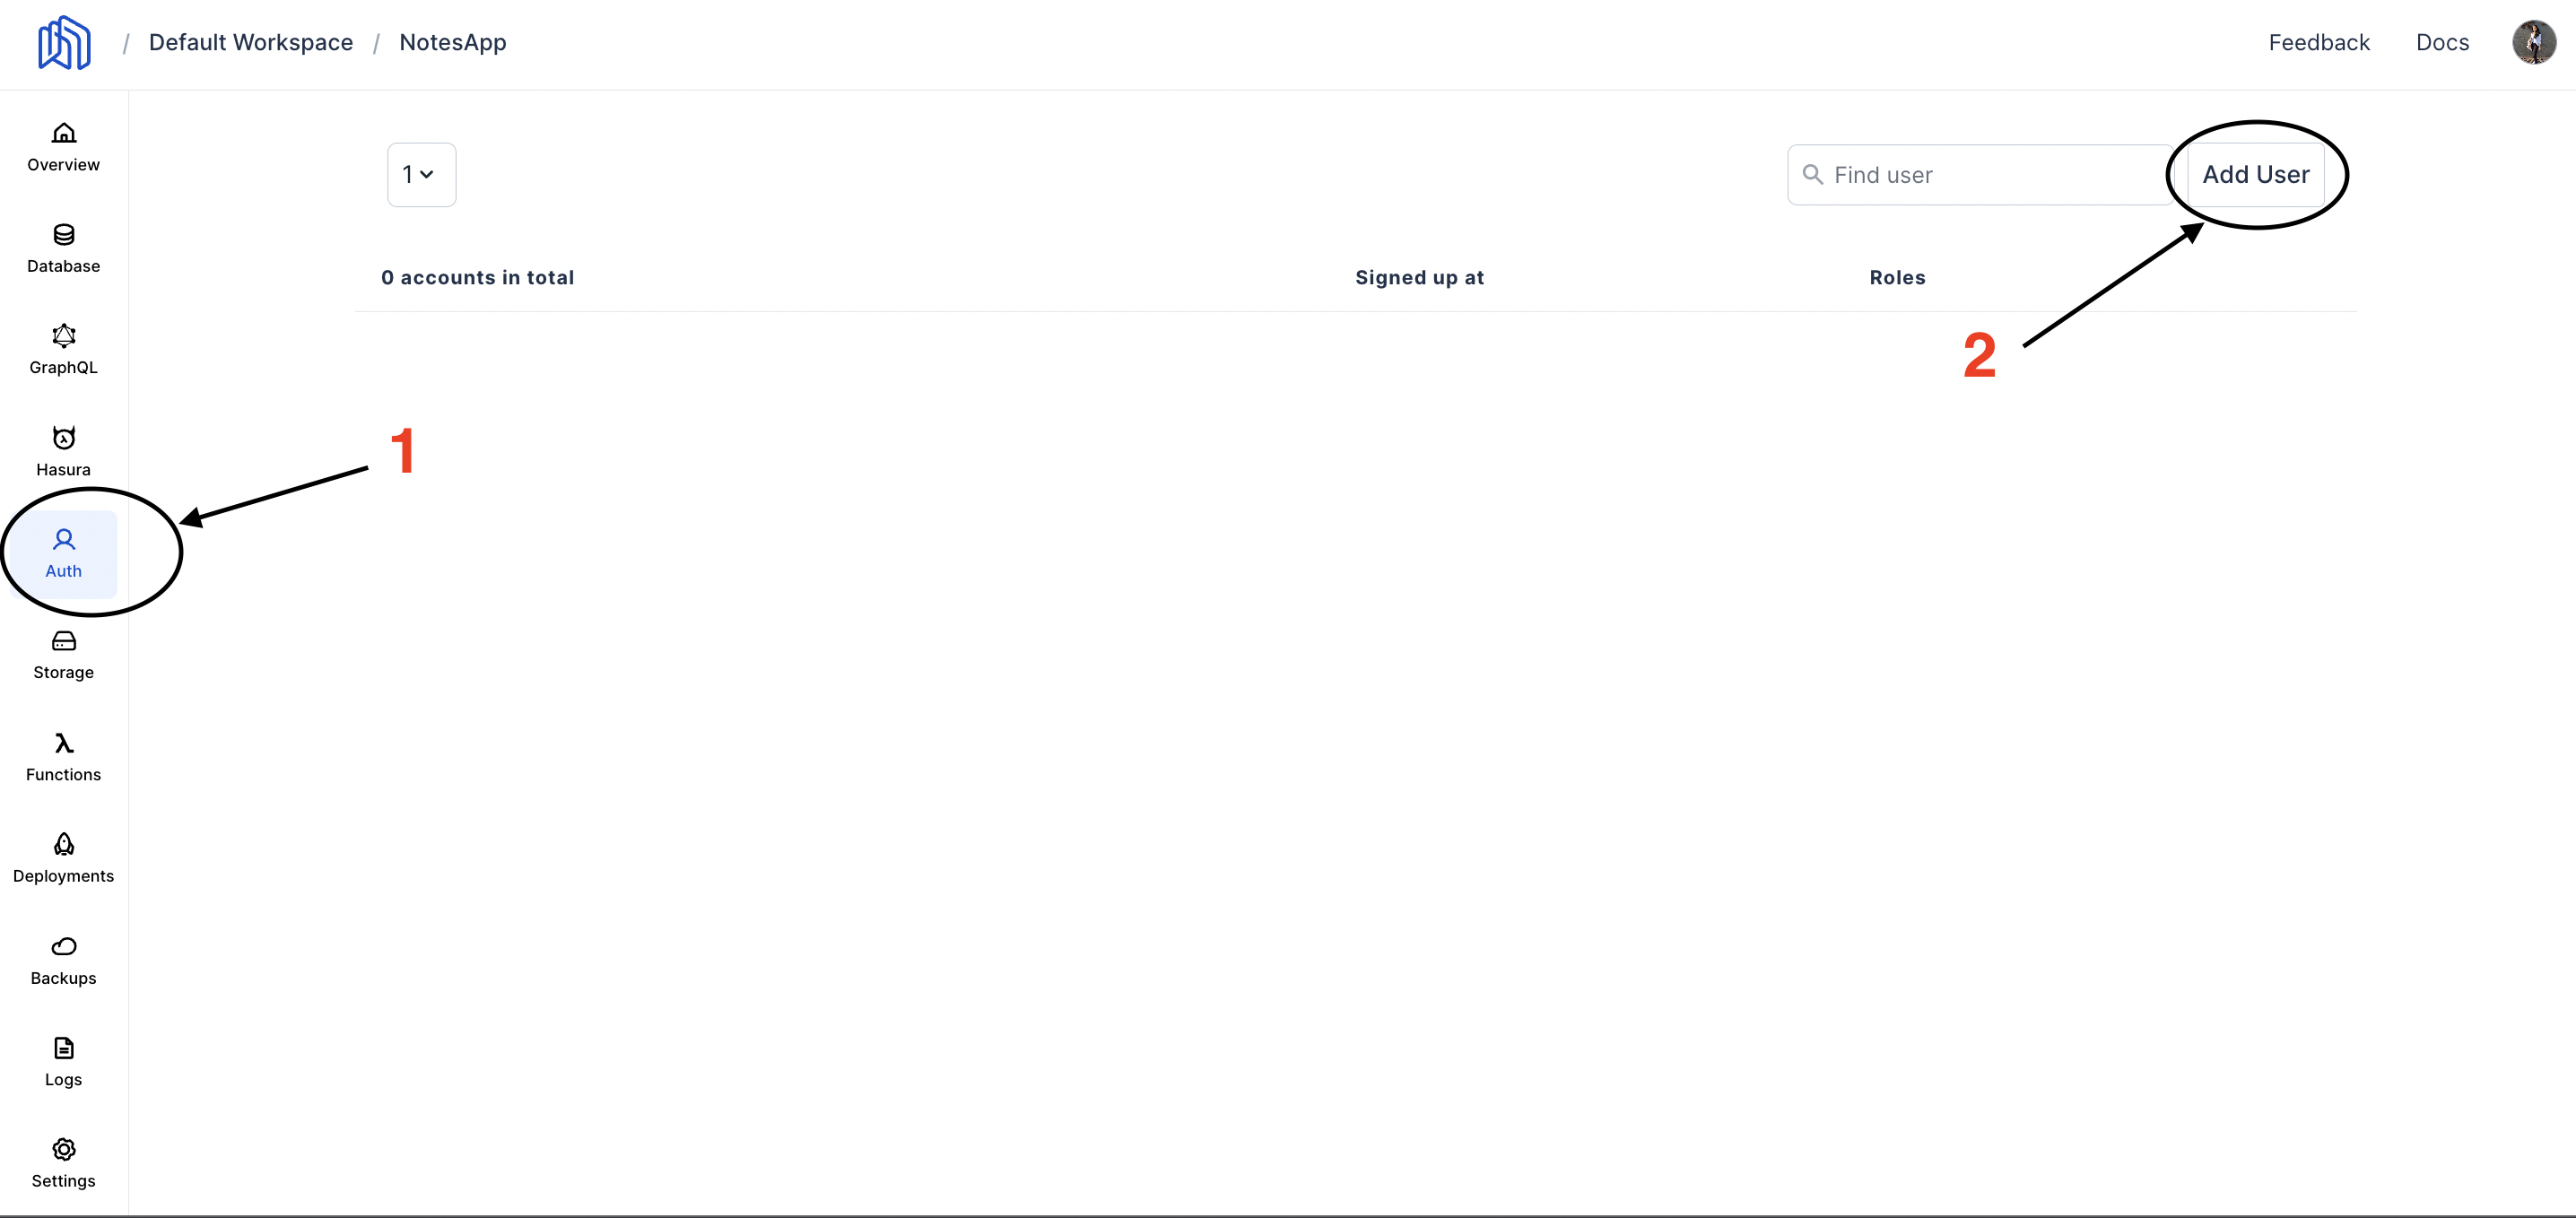 Add users to Auth table
Click on Add User and enter the details of your user. Let us create two users.
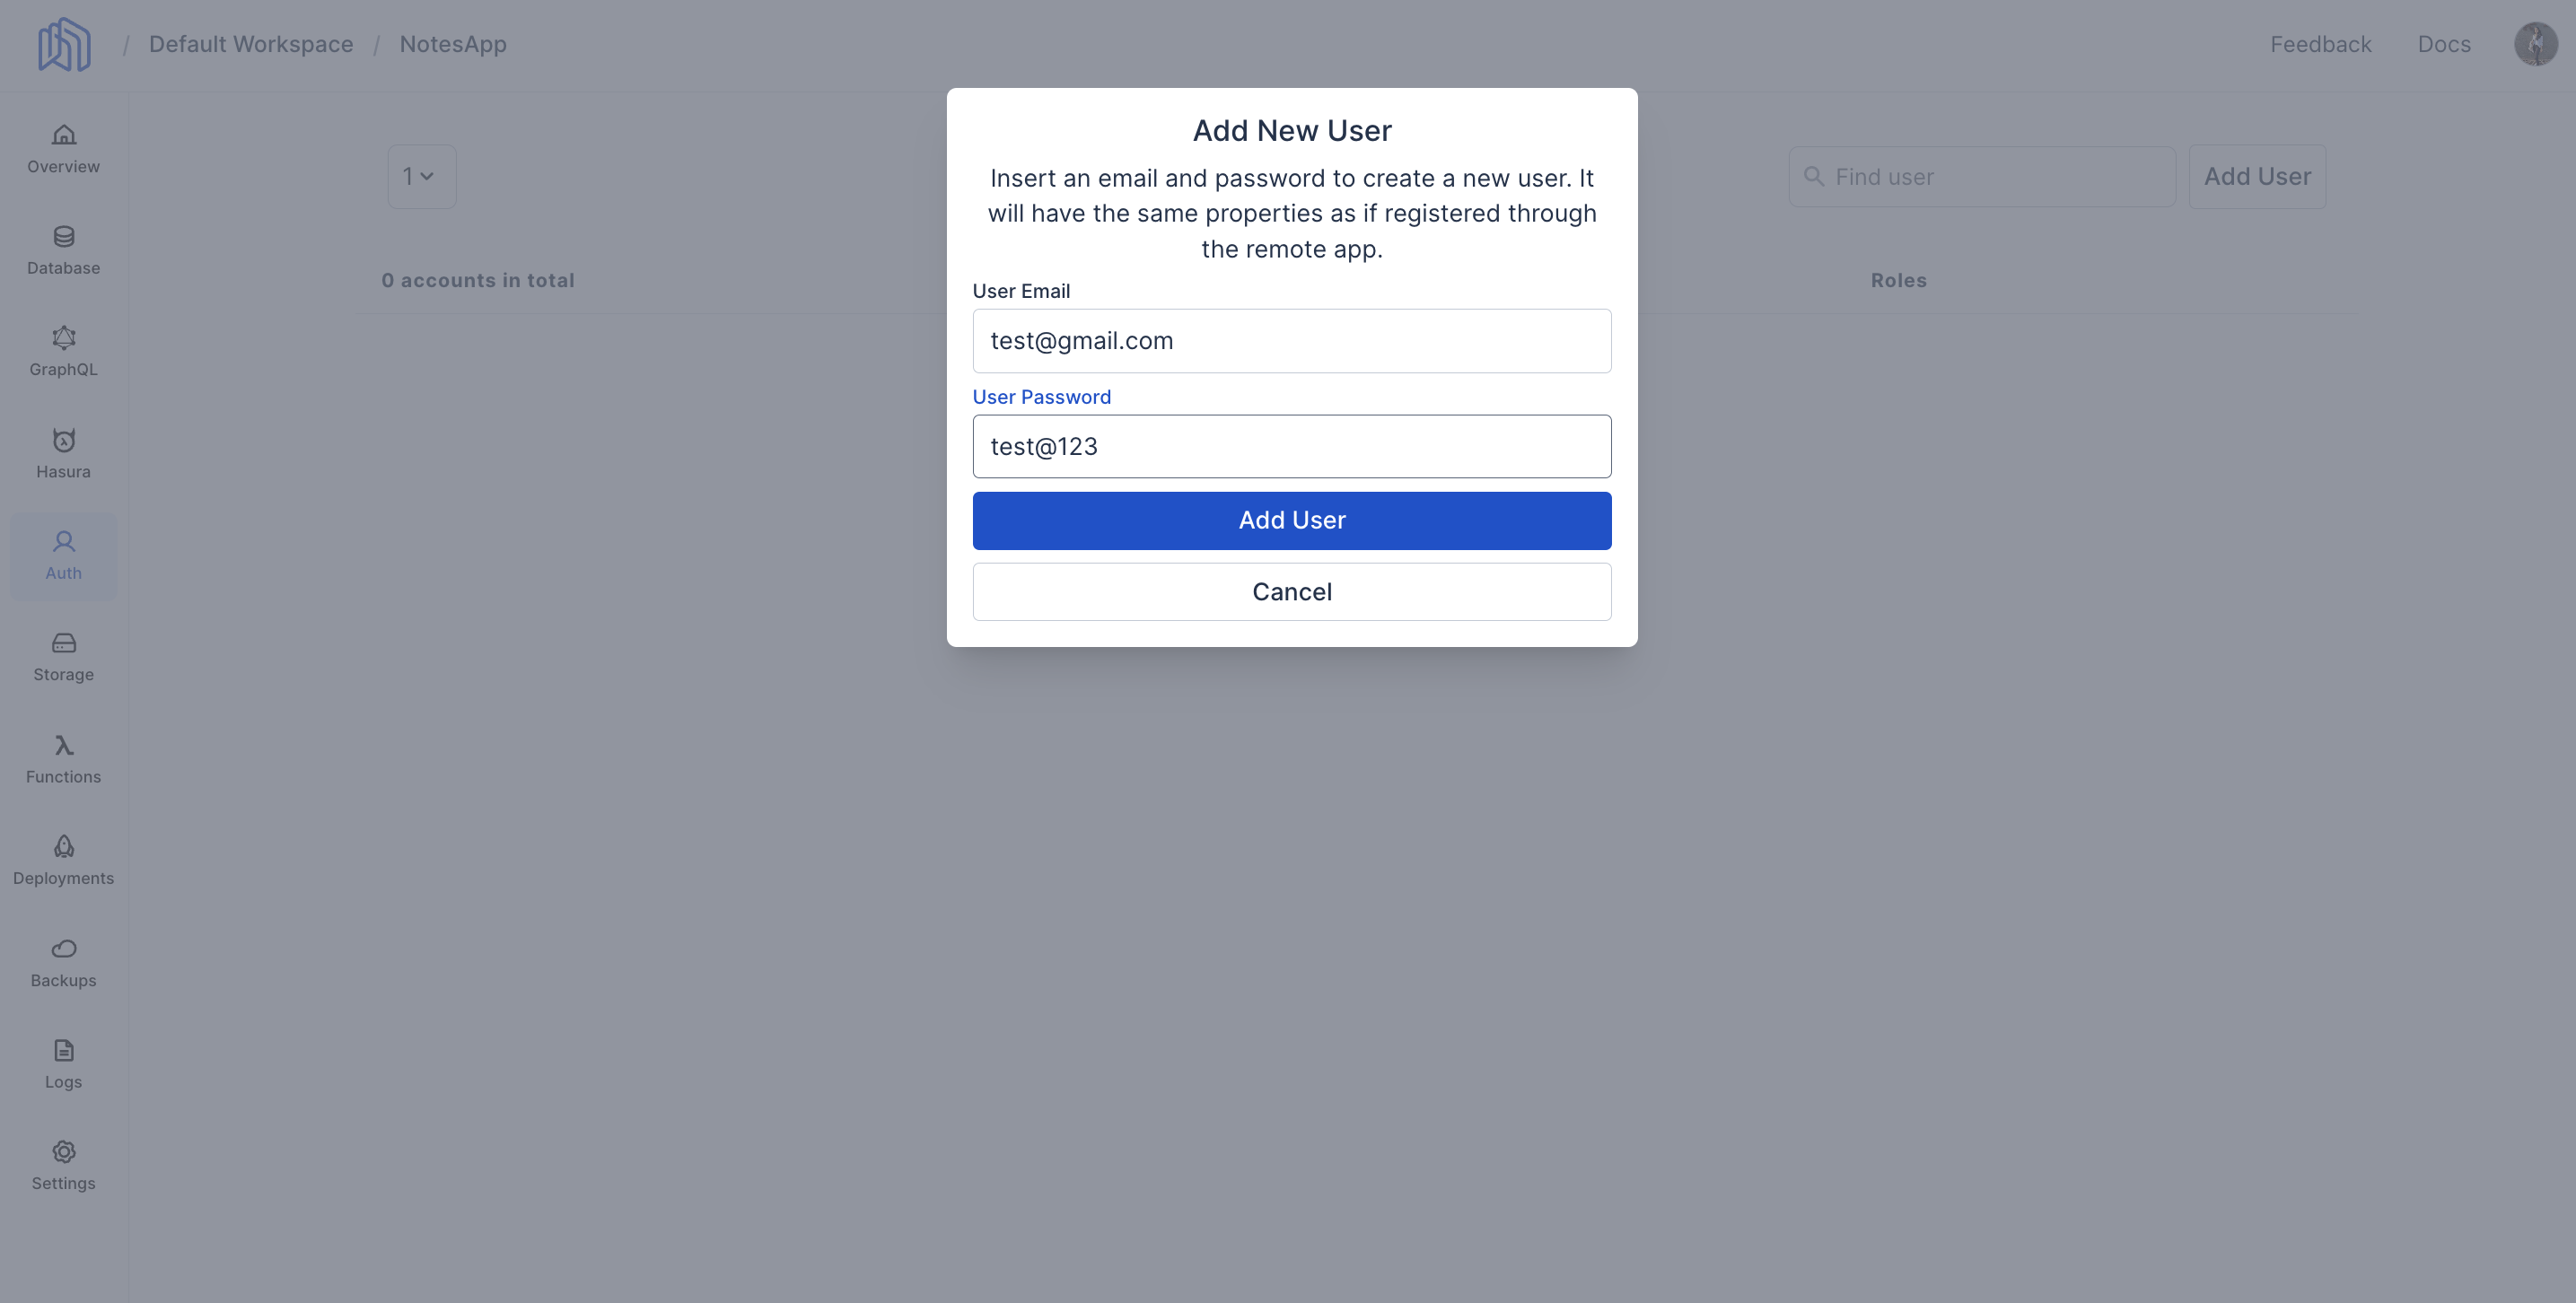 Details of user 1
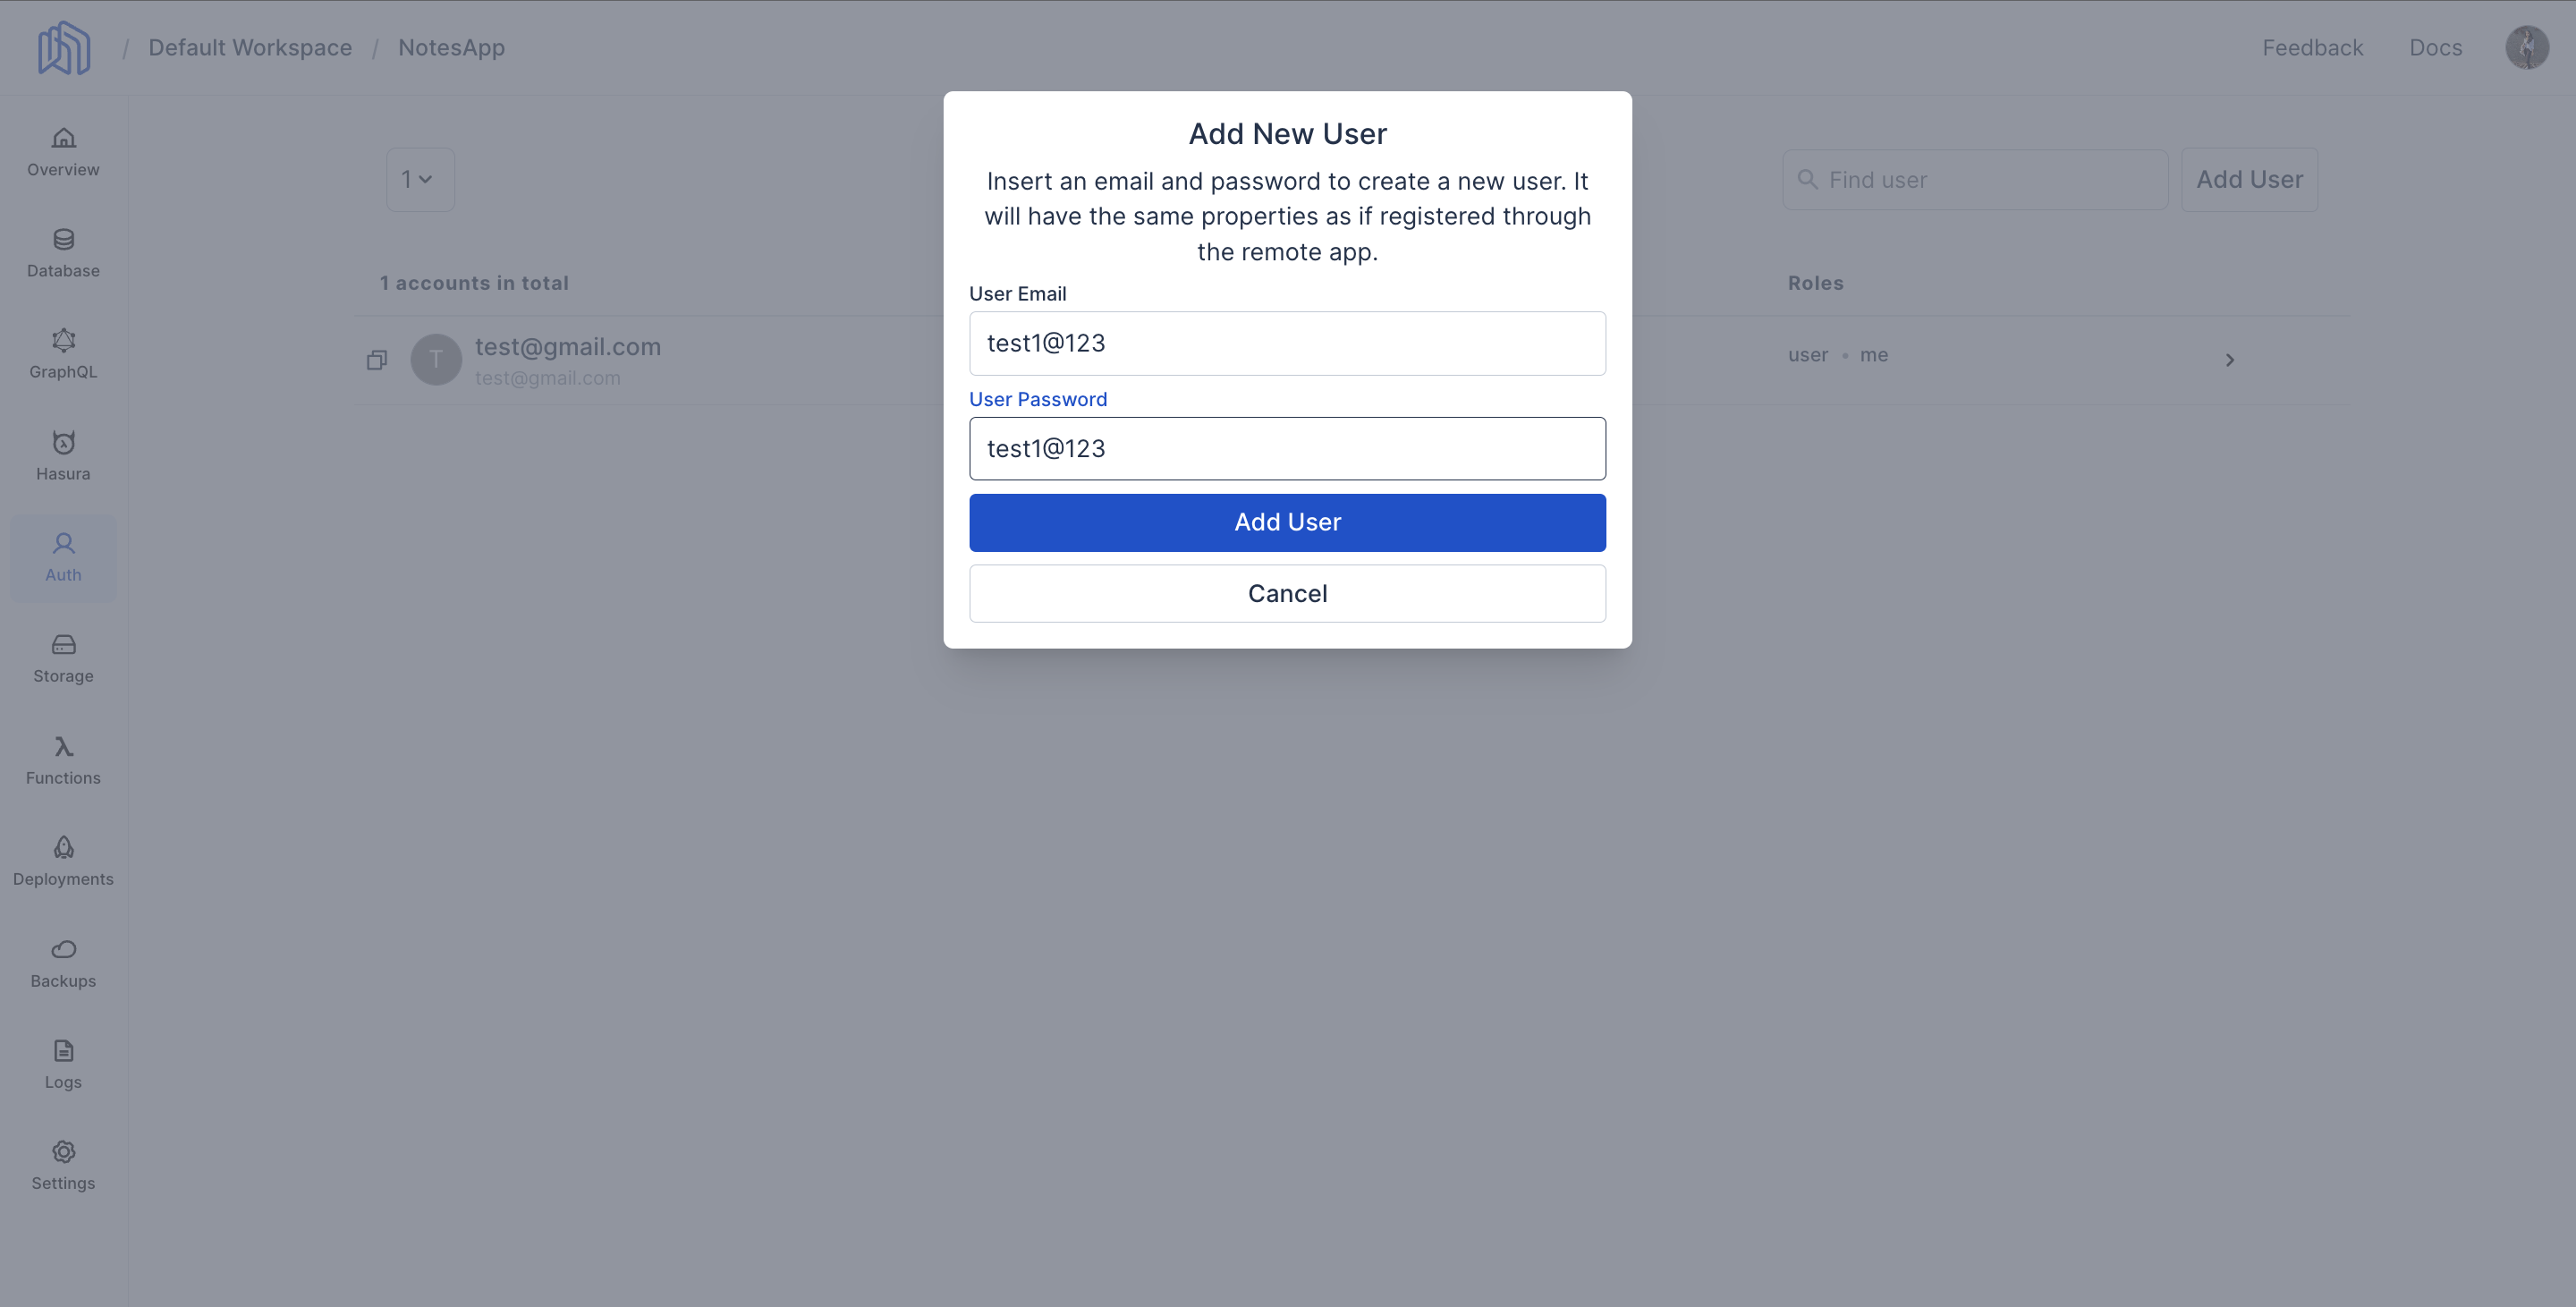 Details of user 2
Now that our users and notes tables are ready, let's fix the permissions required to access the data.
Go back to your notes table under Database and click on the three dotes. Select Edit Permissions to update user permissions.
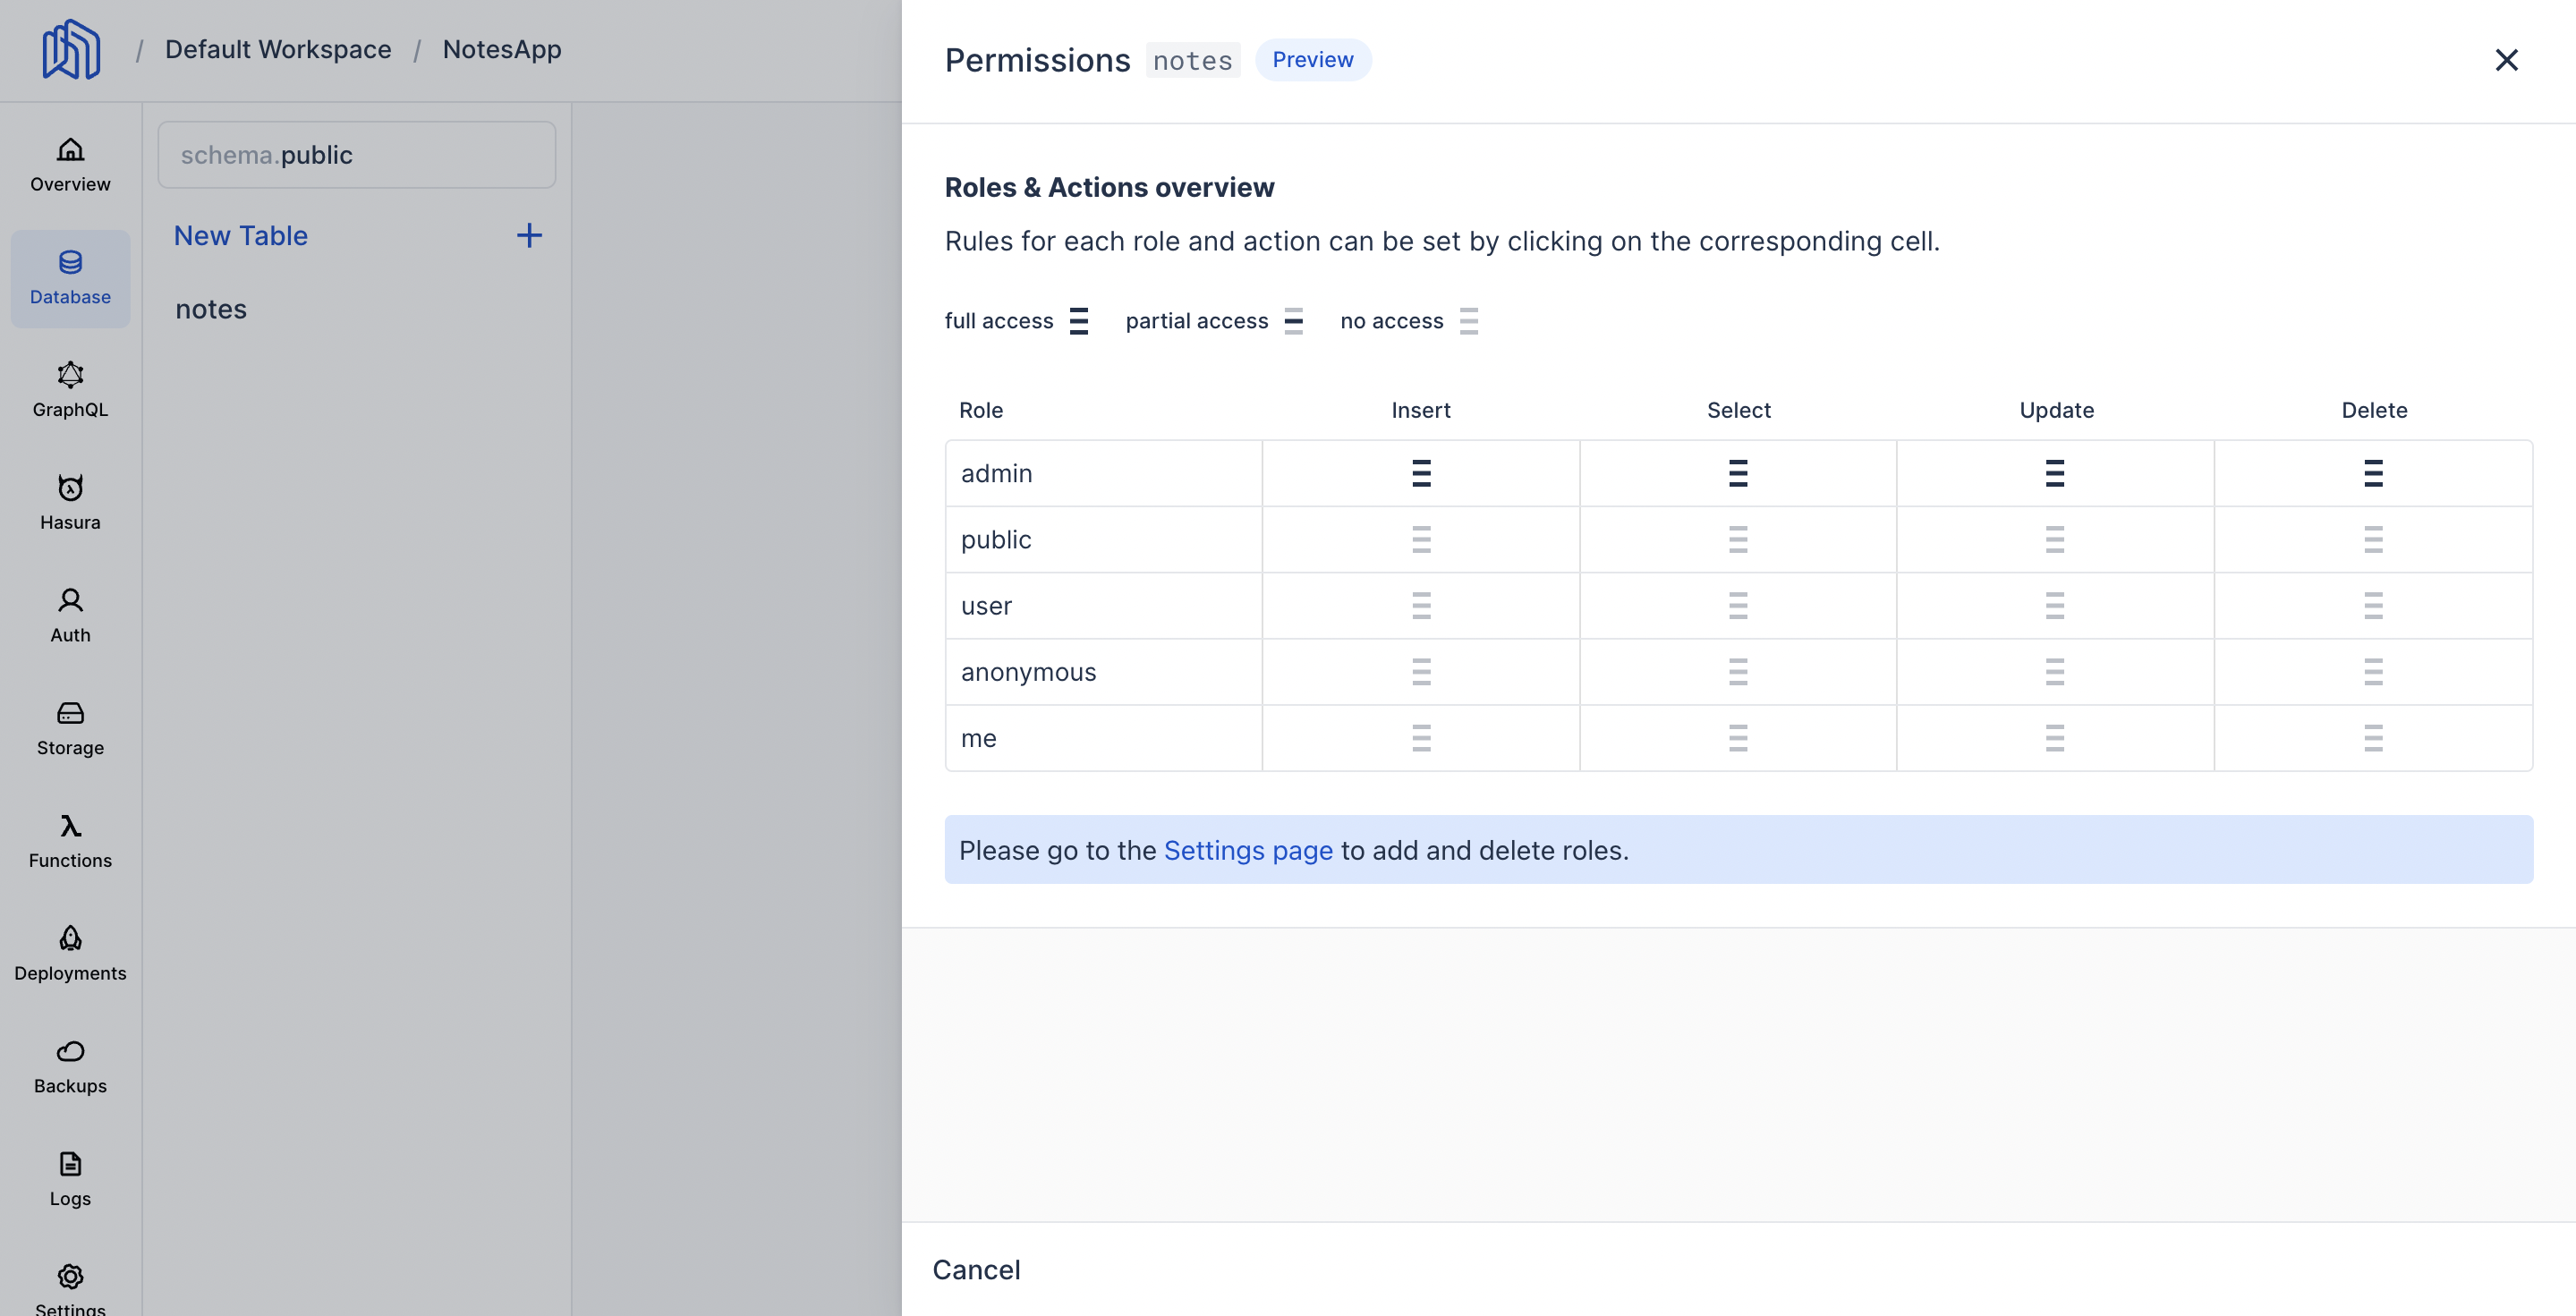 Edit Permissions
Click on the insert cell corresponding to the user row.
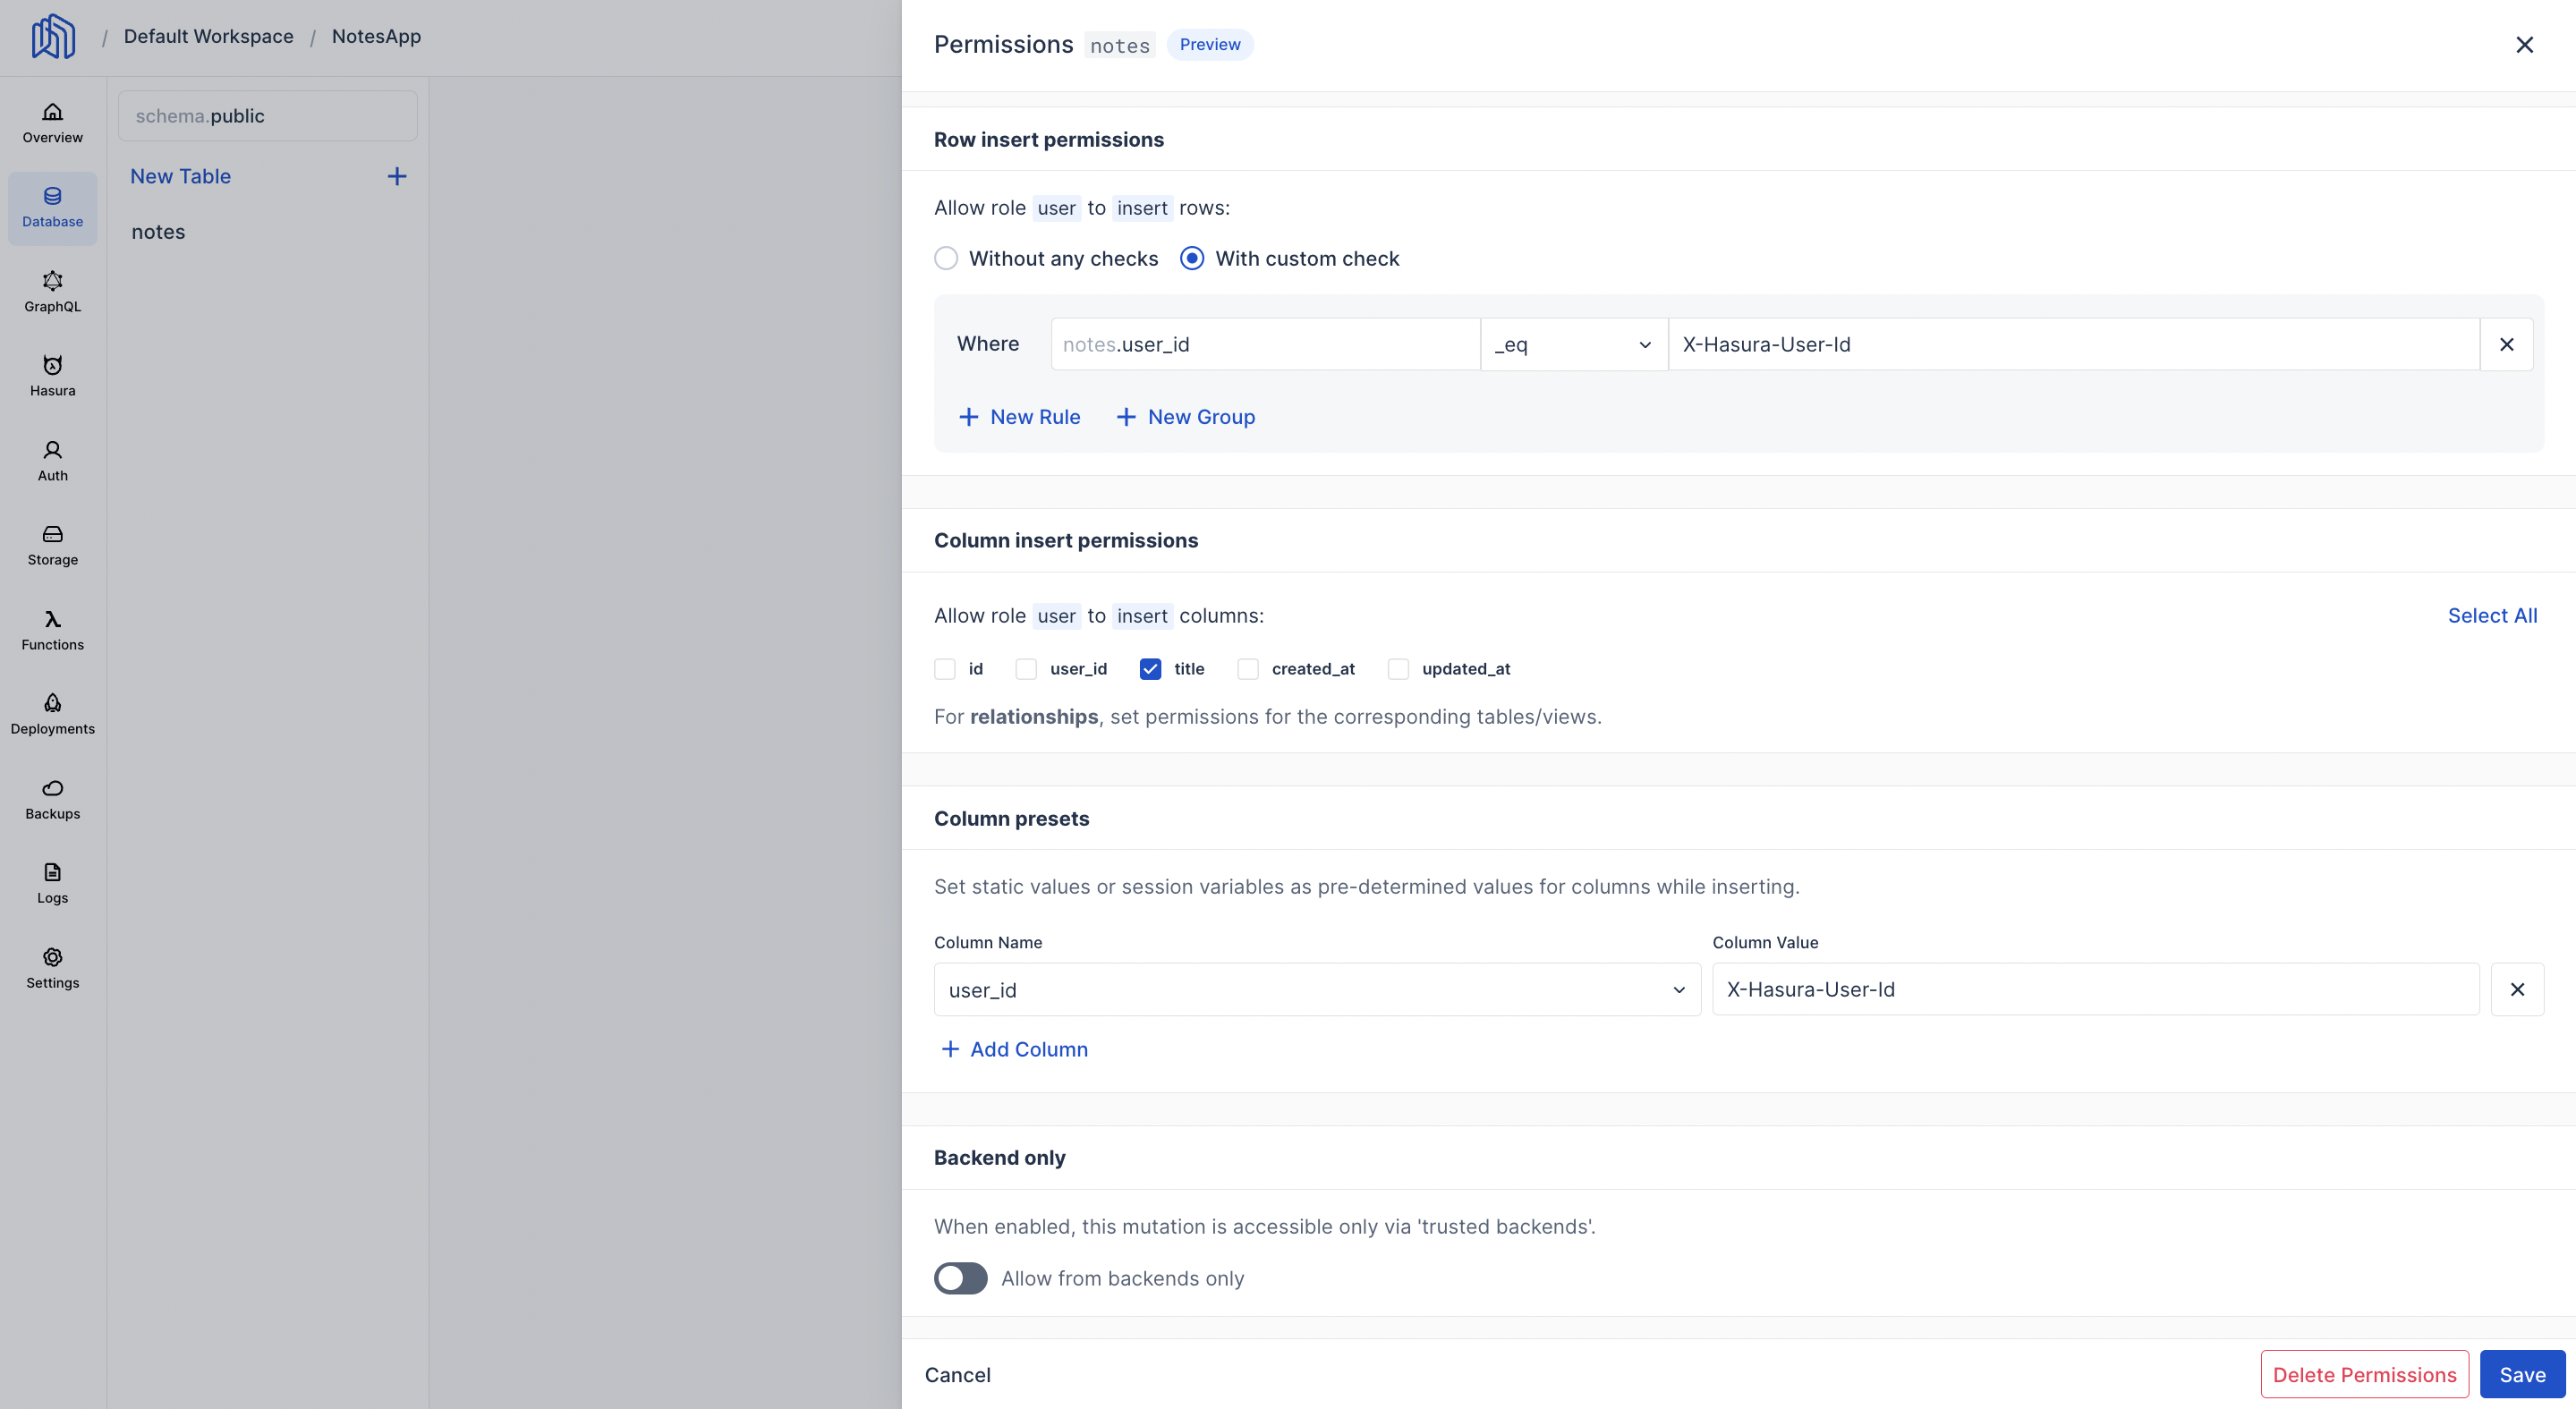 Edit Insert Permissions
We only allow the user to insert data when the user id extracted from the session variable matches the user_id from the notes table.
Similarly click on the select cell in order to change the permissions required to select data from the notes table.
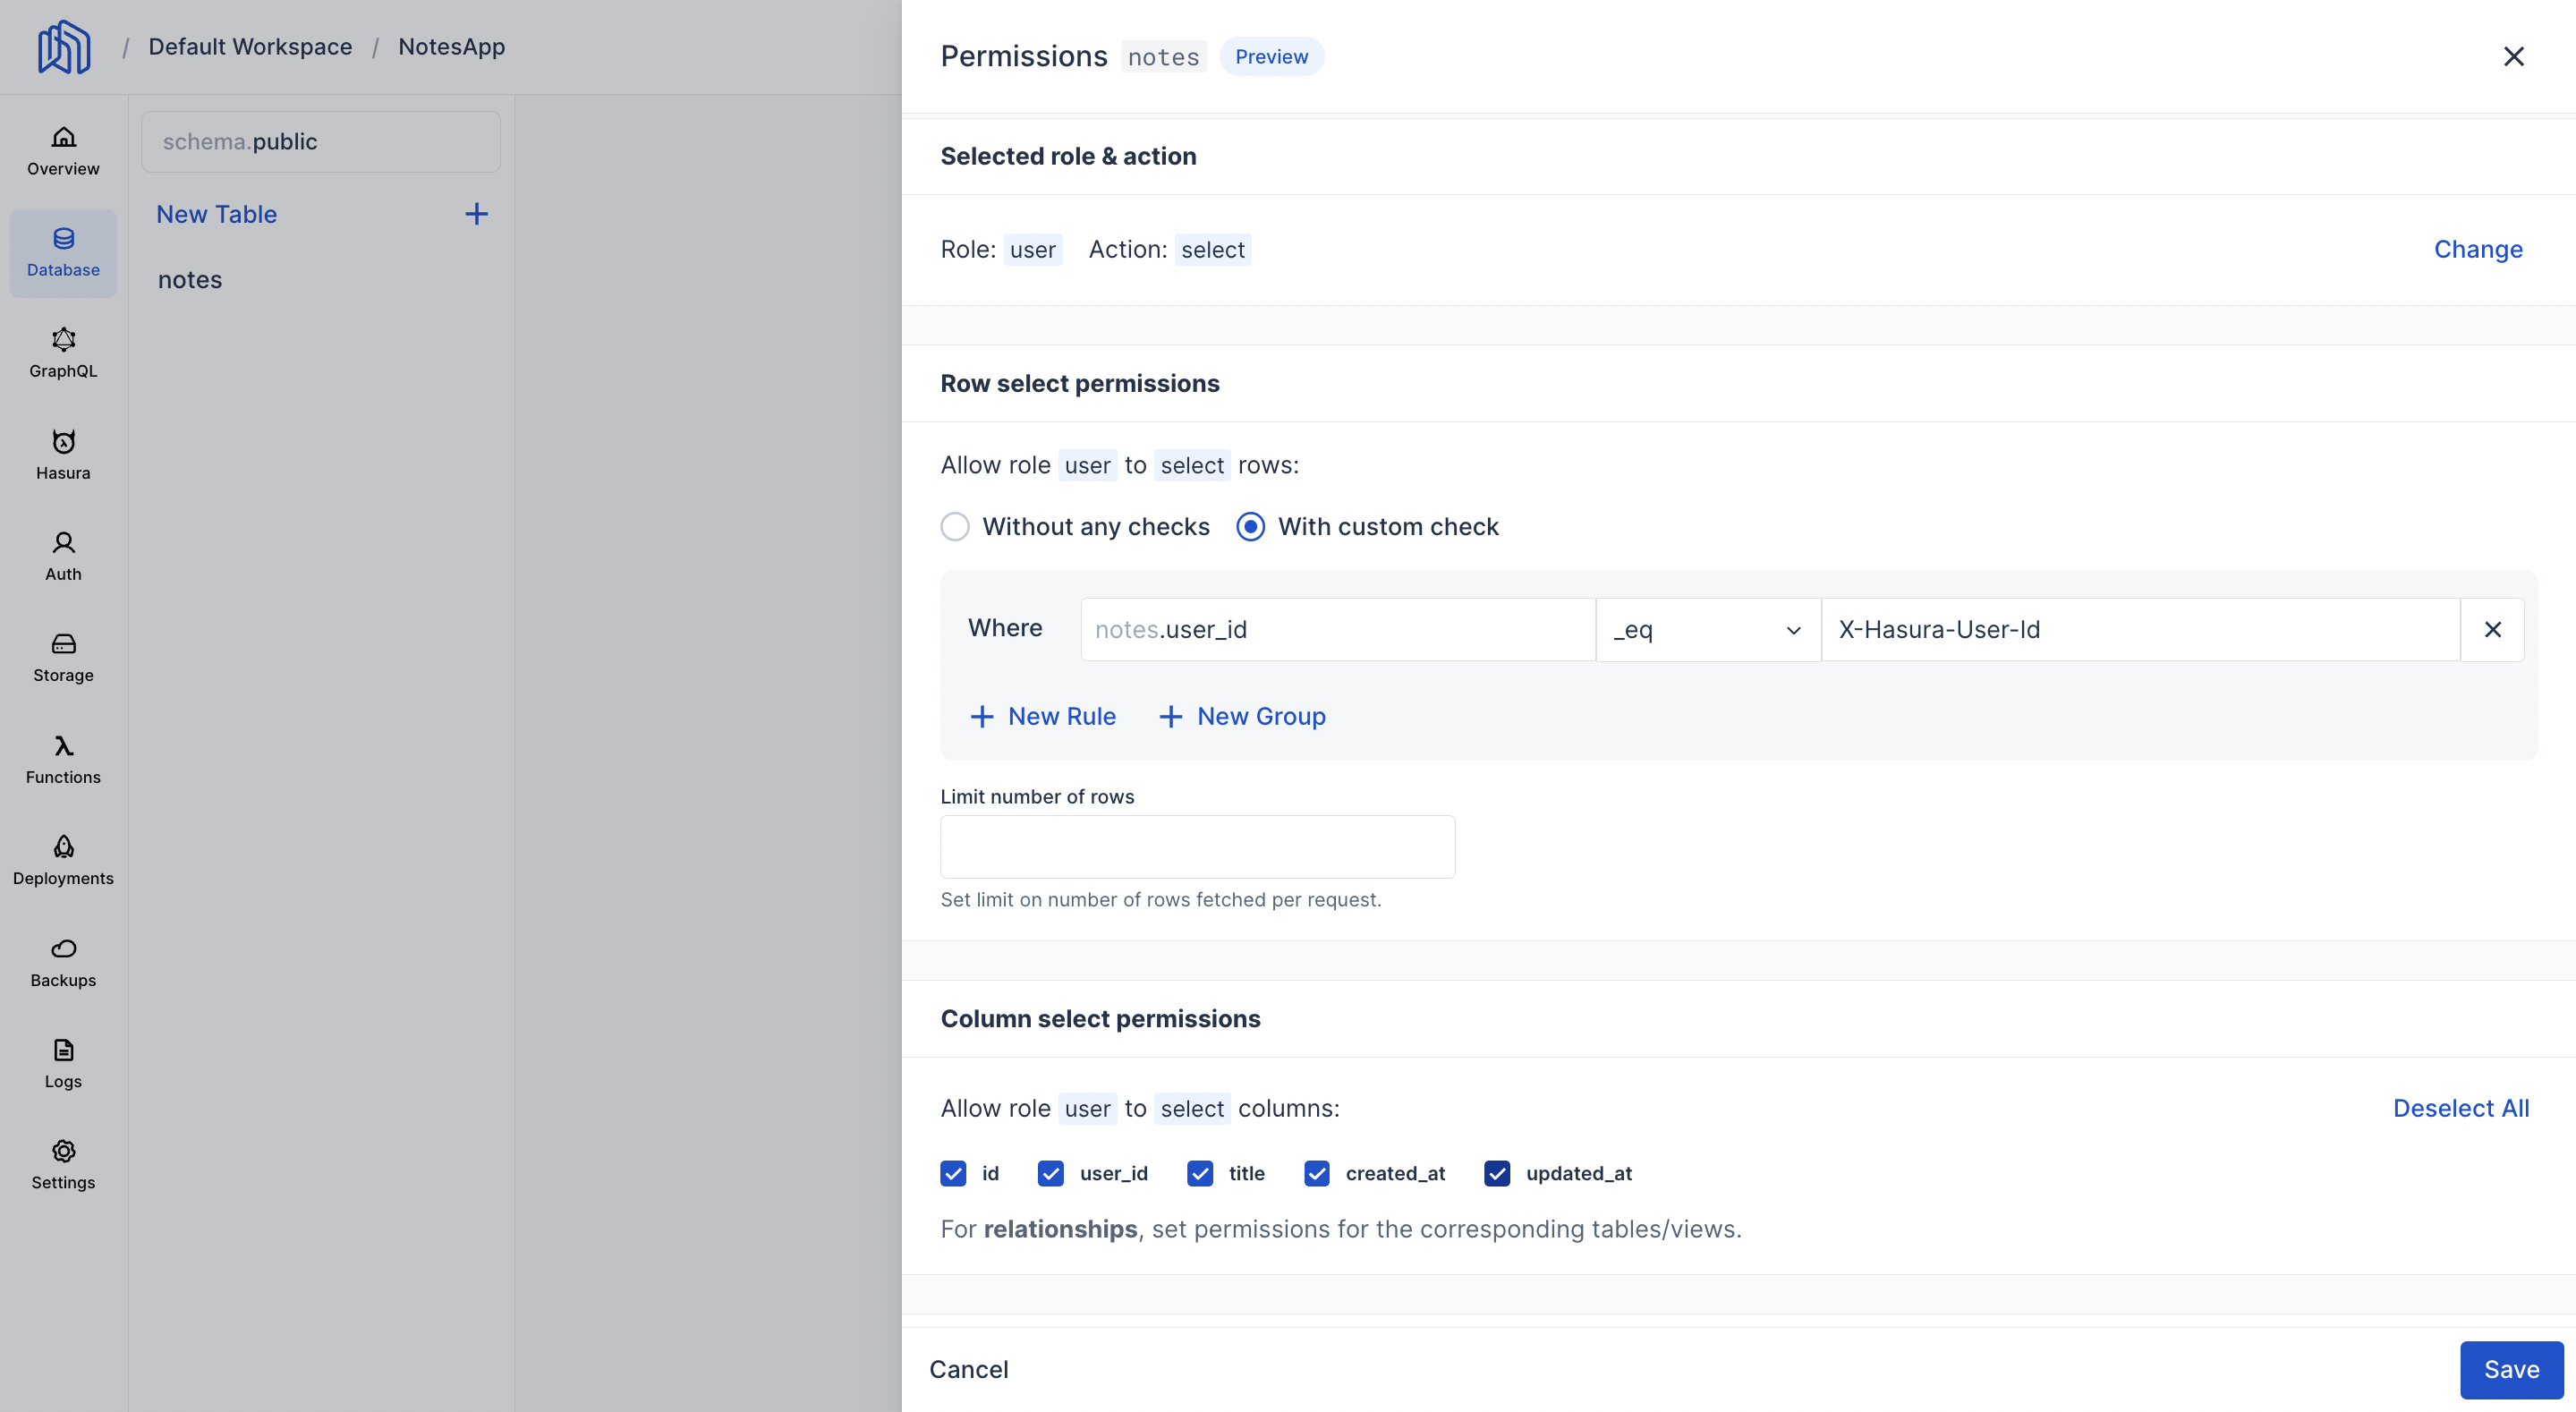 Edit Select Permissions
And with this we done with setting up the database and authentication for our notes app. Now that we are done with the backend, let's create the frontend.
Create a simple Next.js Application.
We will now create a basic frontend using Next.js.
You do not need to know advanced Next.js for build this project. The goal of this project is to understand how authentication and permissions work with user data.
So go ahead and clone this project.
git clone https://github.com/nhost/nhost-nextjs-notes-starter.git
We need to add the projects details to the Nhost client code. You find your Nhost project's subdomain and region in the project overview.
In the nhost.ts file, replace the exsiting subdomain and region values with your project's subdomain and region
_10import { NhostClient } from '@nhost/nextjs'_10_10const nhost = new NhostClient({_10 subdomain: 'your-subdomain',_10 region: 'your-region',_10})
Now run the following commands in your terminal inside your project.
_10npm install_10npm run dev
And you can now run the application on http://localhost:3000.
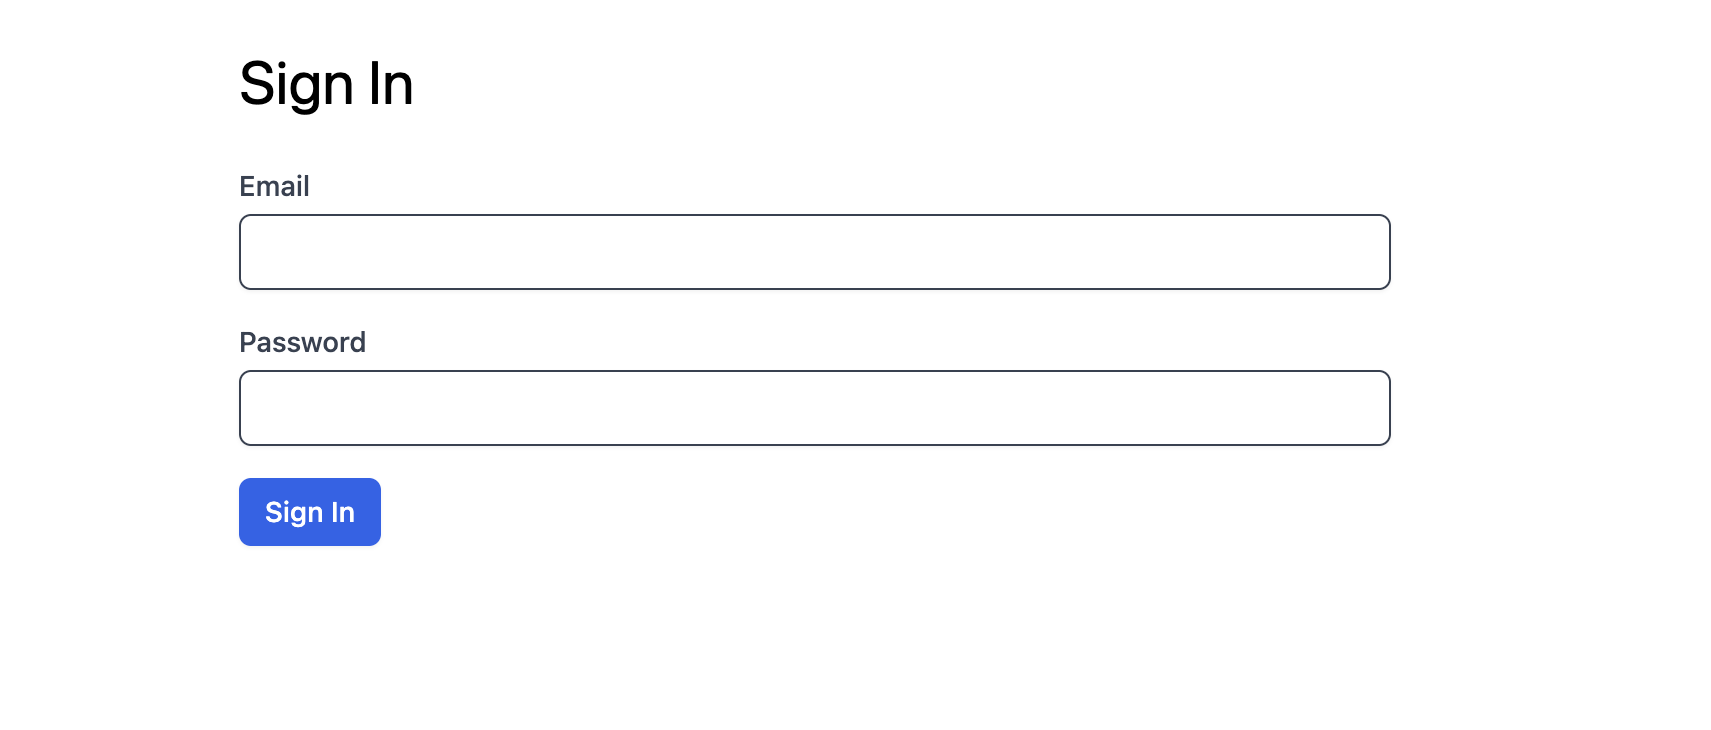 Signin Page.
Enter the email address and password of the user you created in the auth table and you can then add the notes into your notes app.
 Notes App.
PS. Star us on GitHub
Do you like what we're building?
Thank you.
Share this post